The Pacific Northwest’s Premier Golf Facility.
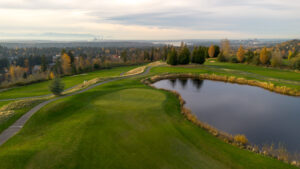
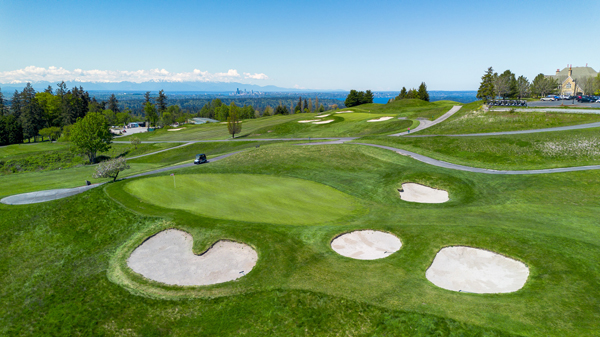
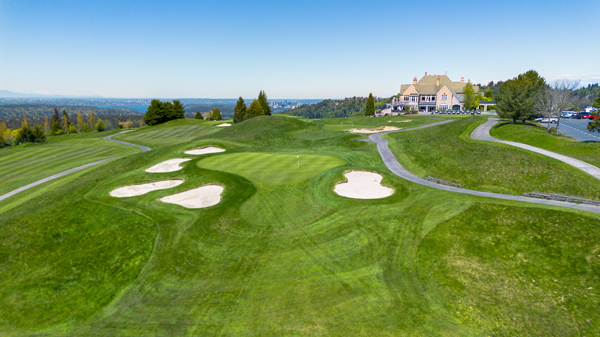
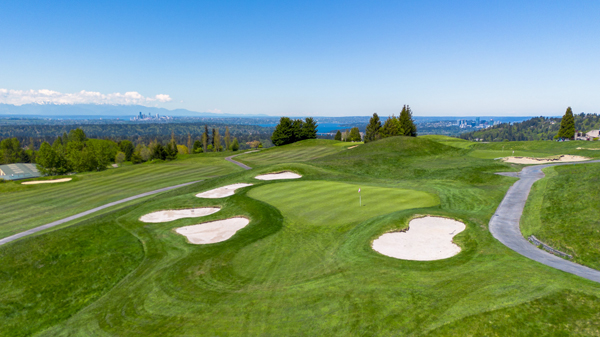
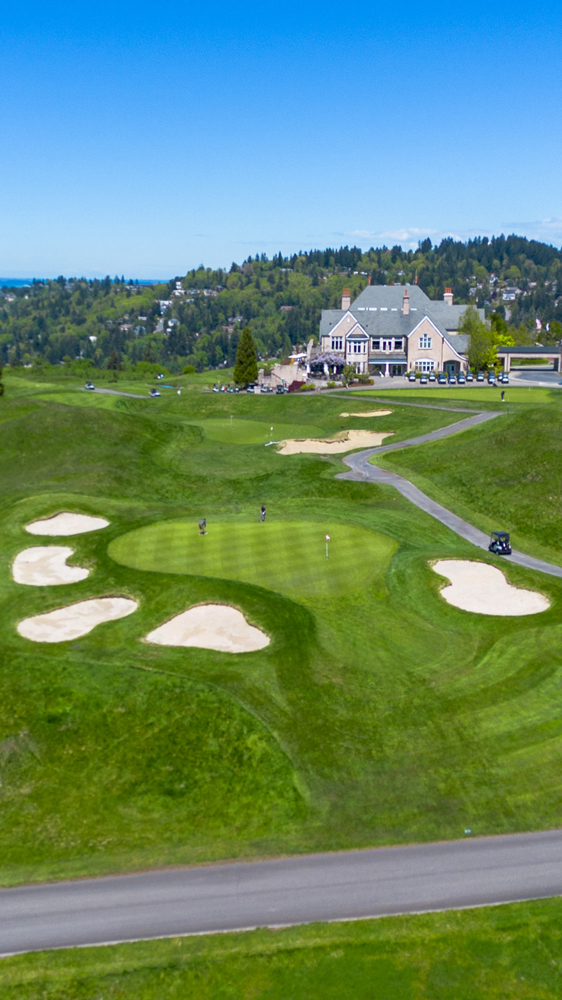
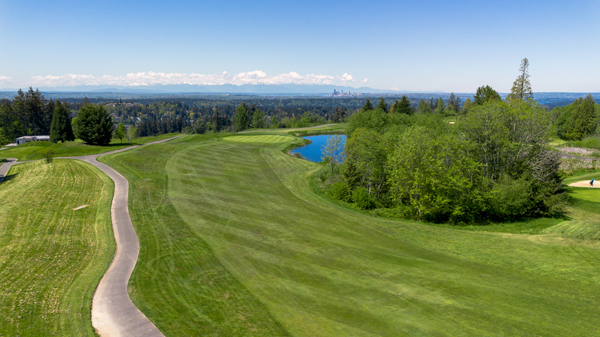
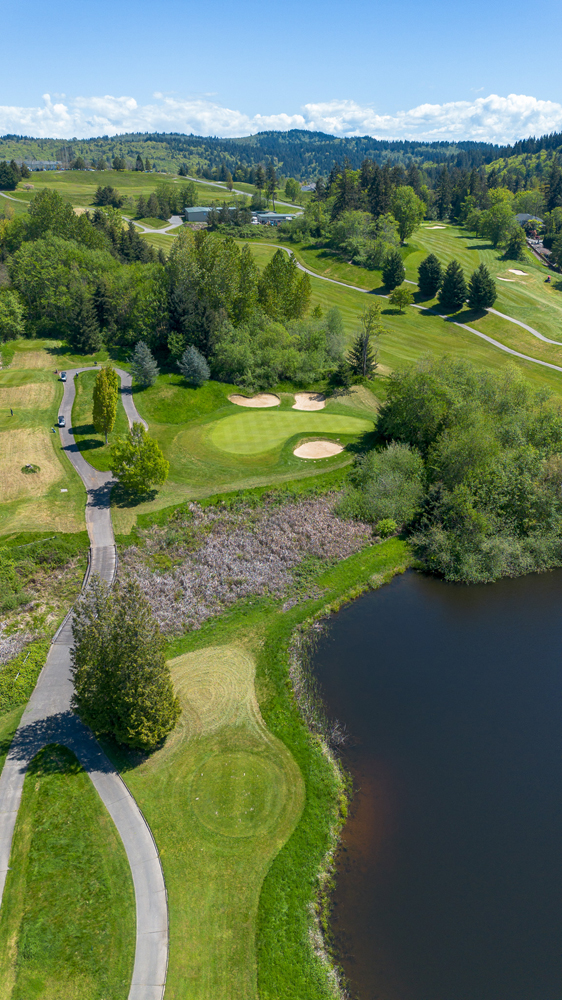
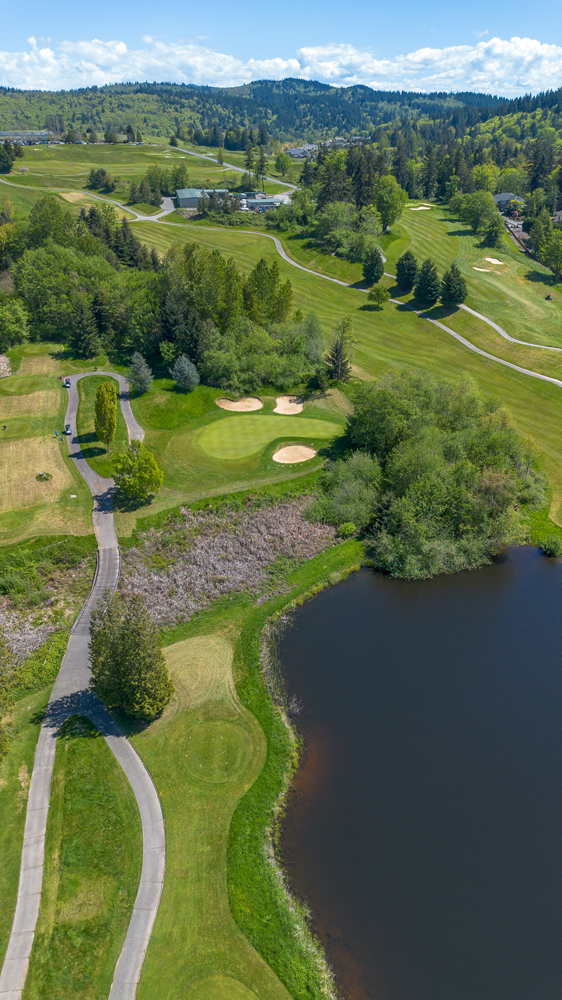
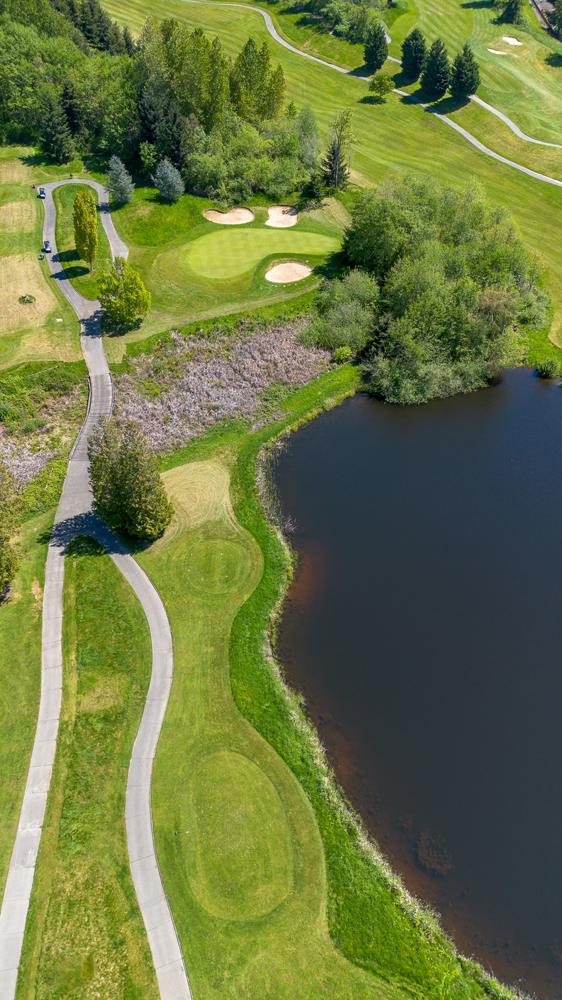
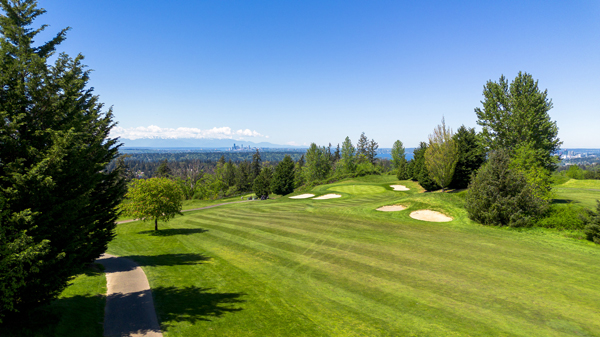
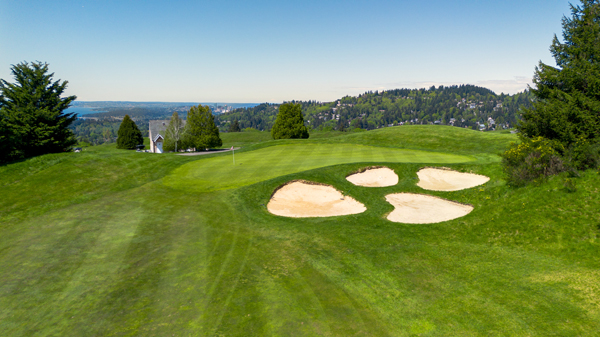
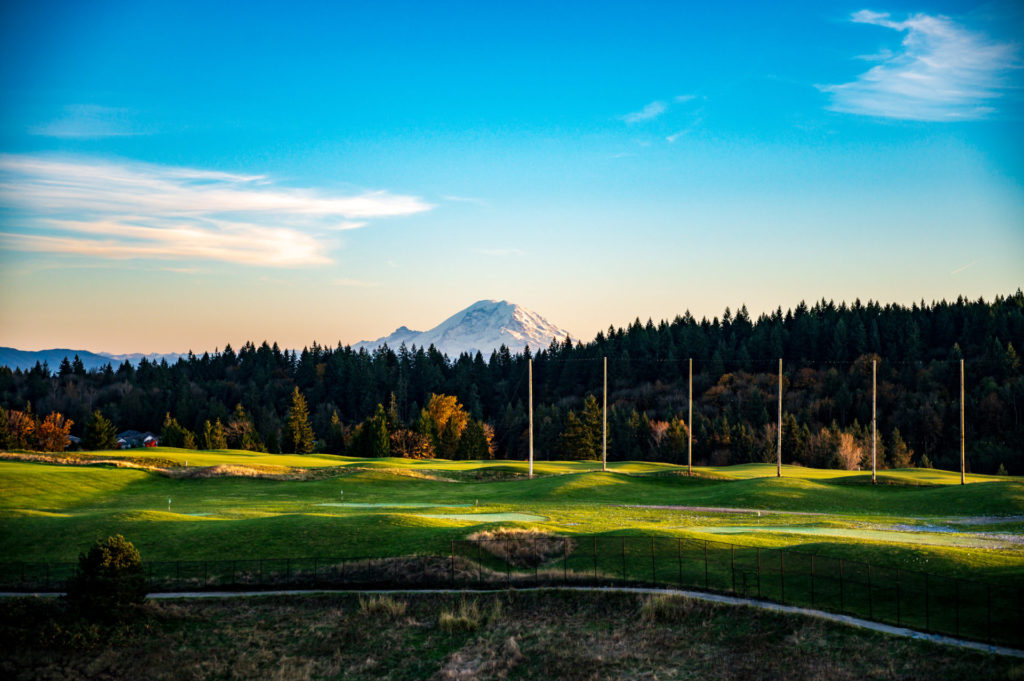
With first-class amenities and stunning panoramic views of Lake Washington, Mt. Rainier, the Olympic and Cascade Mountains, and the Seattle skyline, few venues in Seattle offer a more picturesque Pacific Northwest setting.
Few courses offer views as stunning as those found on the Coal Creek course. Designed by renowned golf course architect Robert E. Cupp in consultation with Masters Champion Fred Couples, the golf course combines characteristics of some of the game’s legendary courses to provide an exceptional playing experience round after round. This challenging layout features well-bunkered landing areas, rolling fairways, undulating green complexes, and elevation changes making proper club selection paramount. Like the world’s highly acclaimed courses, the Coal Creek course offers a true test for players of all abilities. Stretching 7,024 yards from the back tees, it features five par 3’s, eight par 4’s, and five par 5’s.
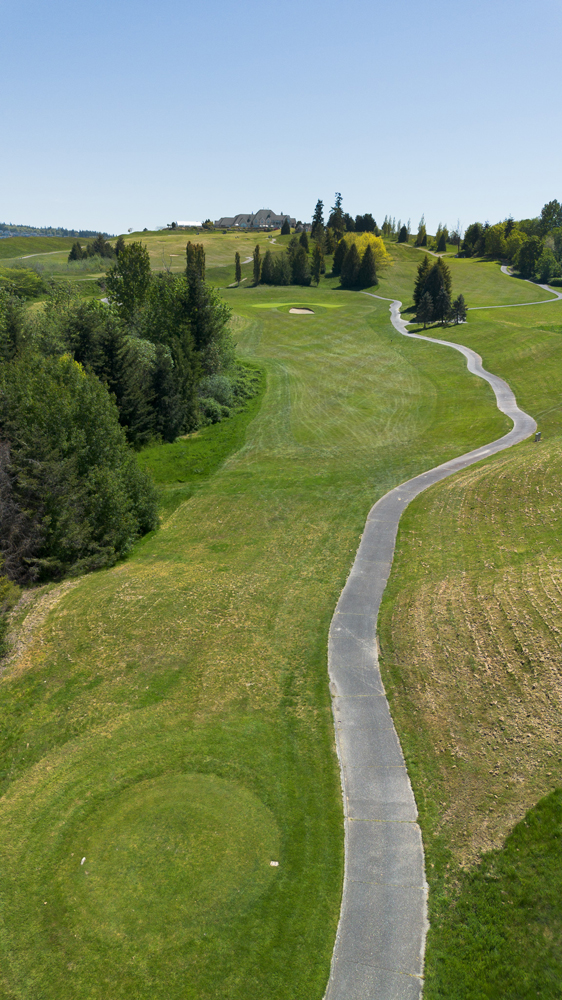
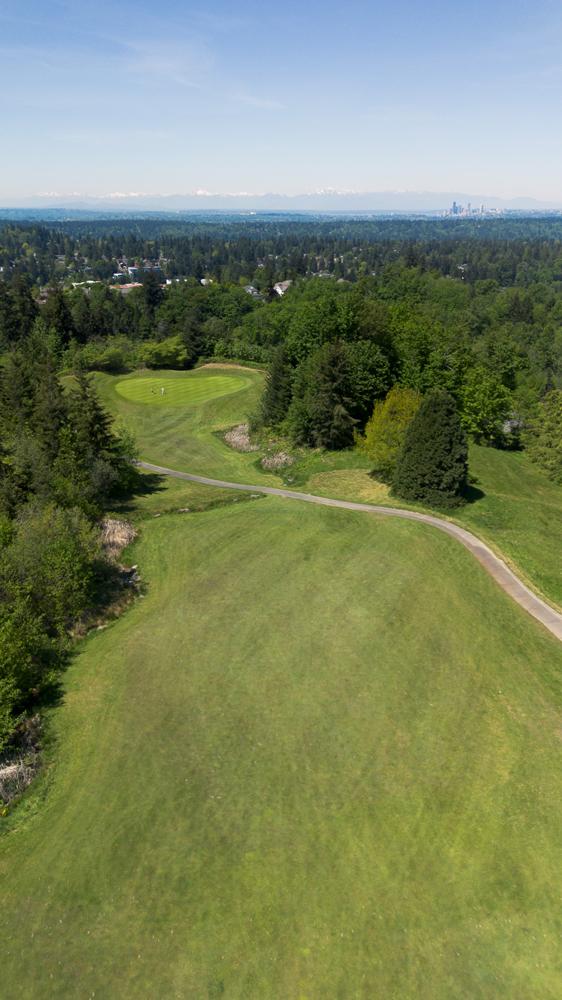
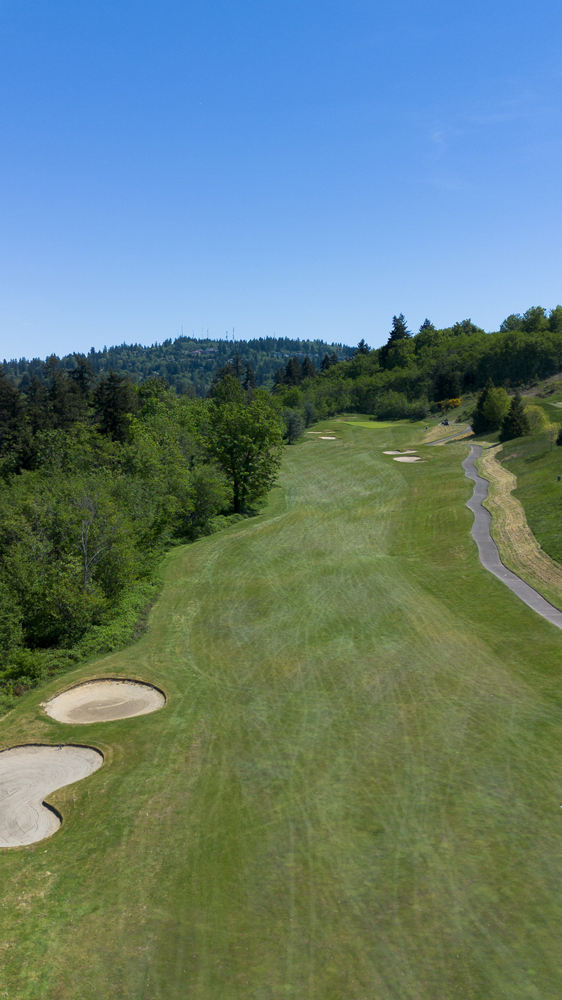
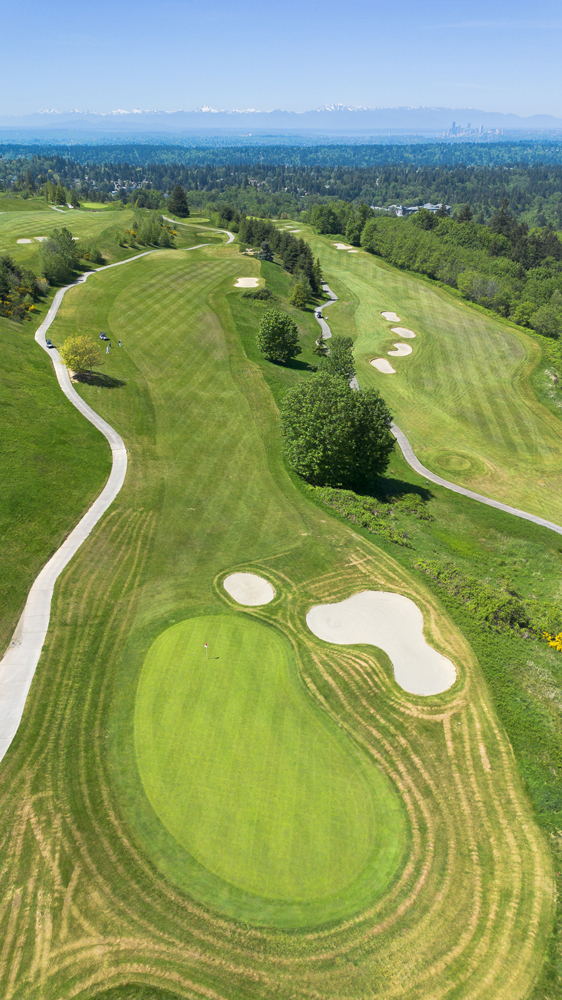
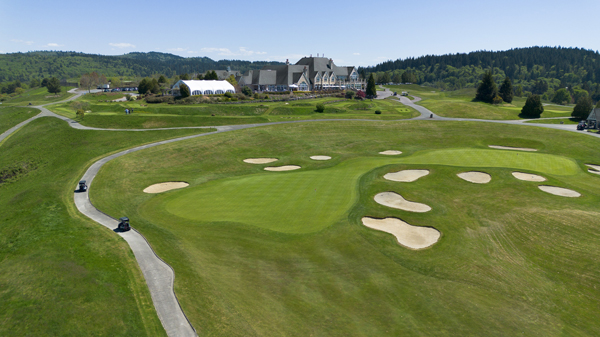
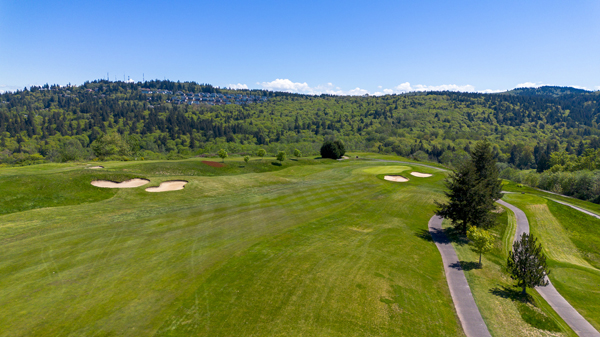
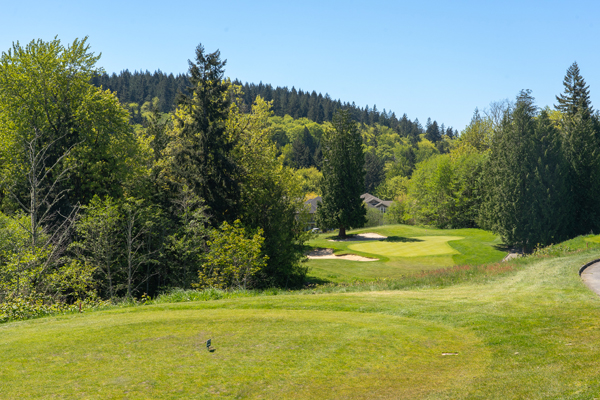
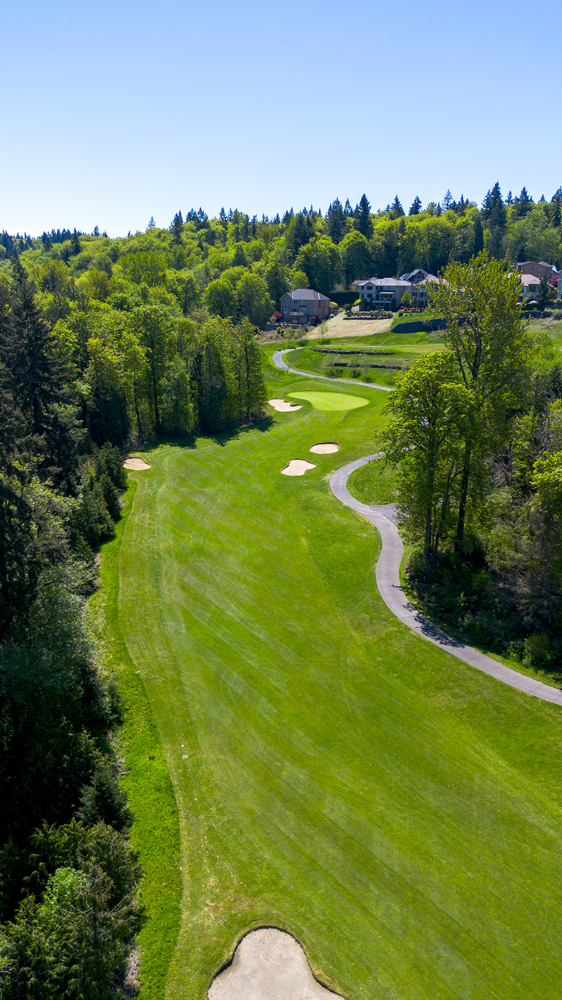
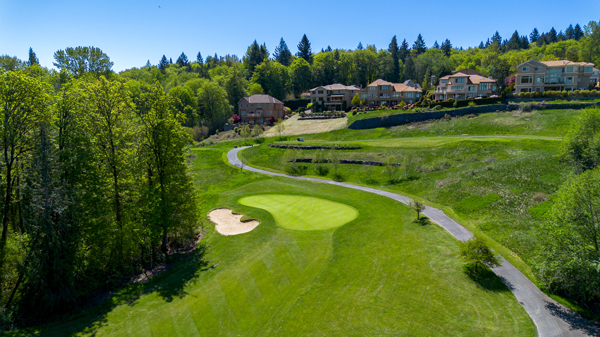
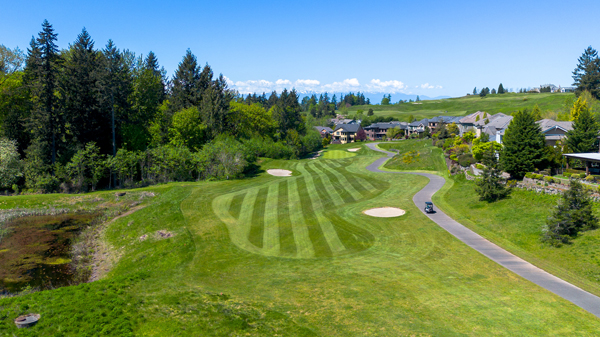
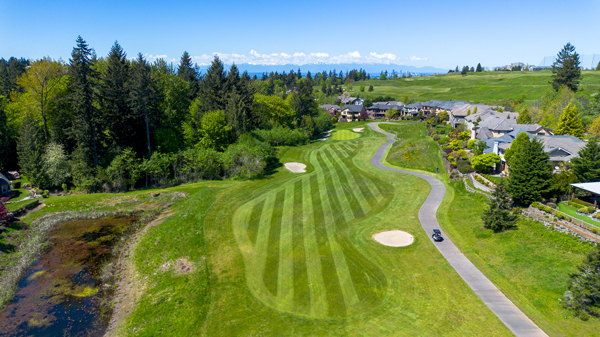
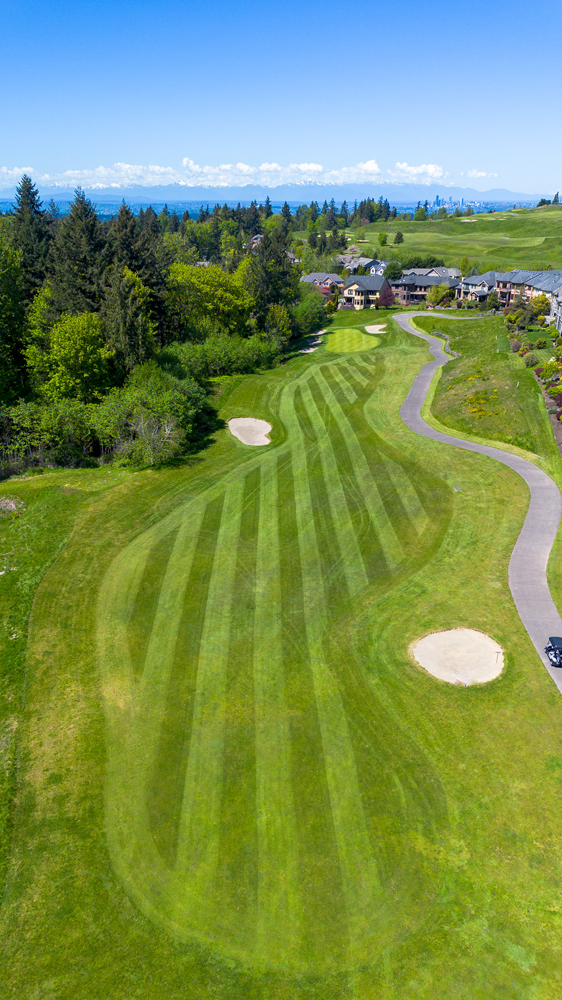
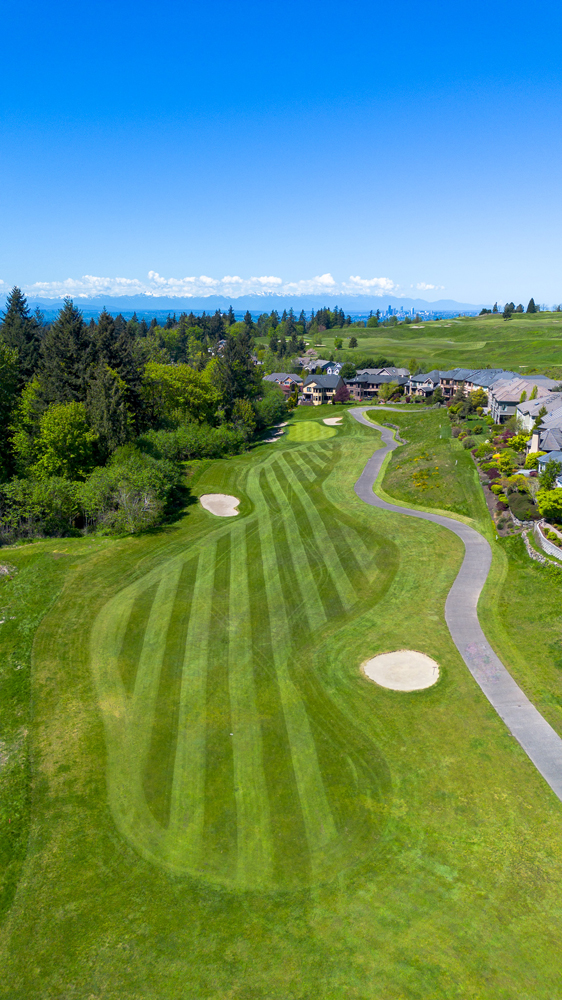
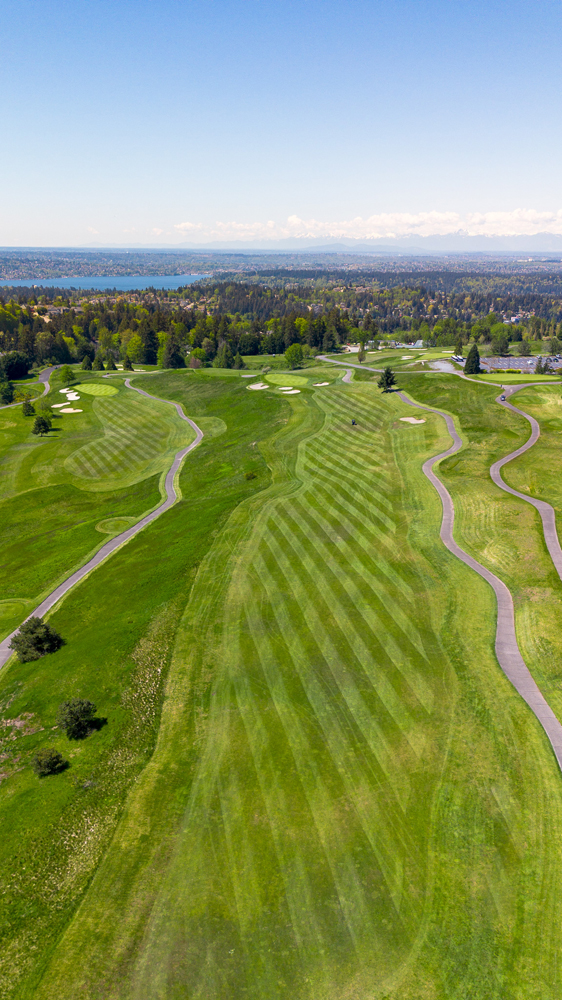
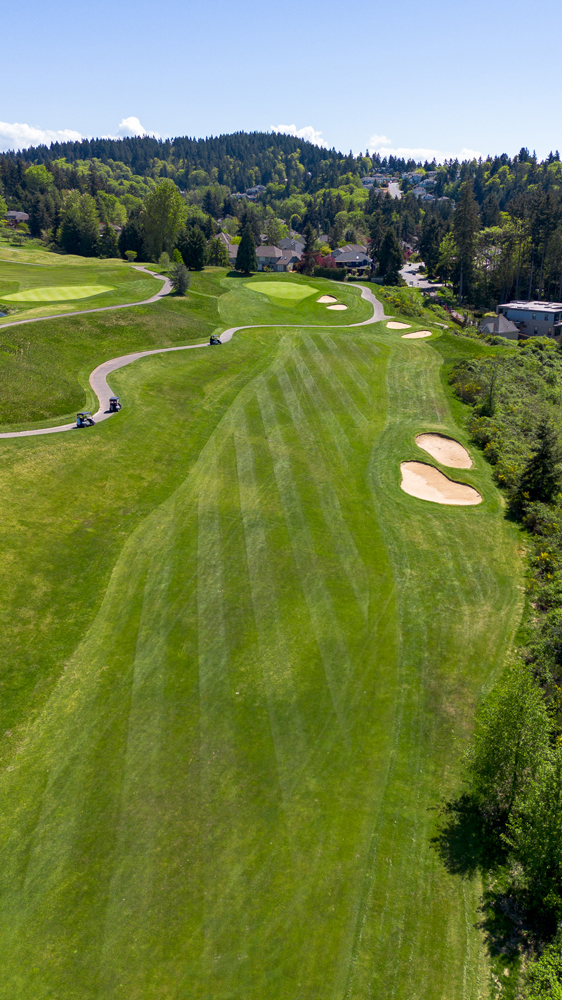
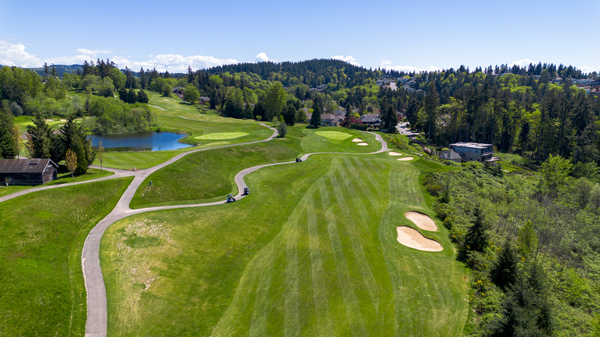
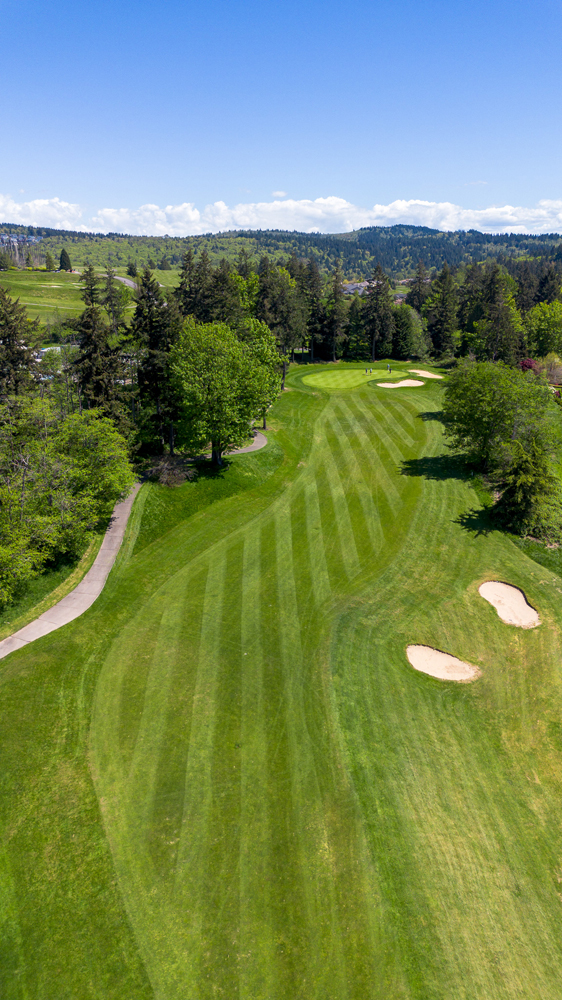
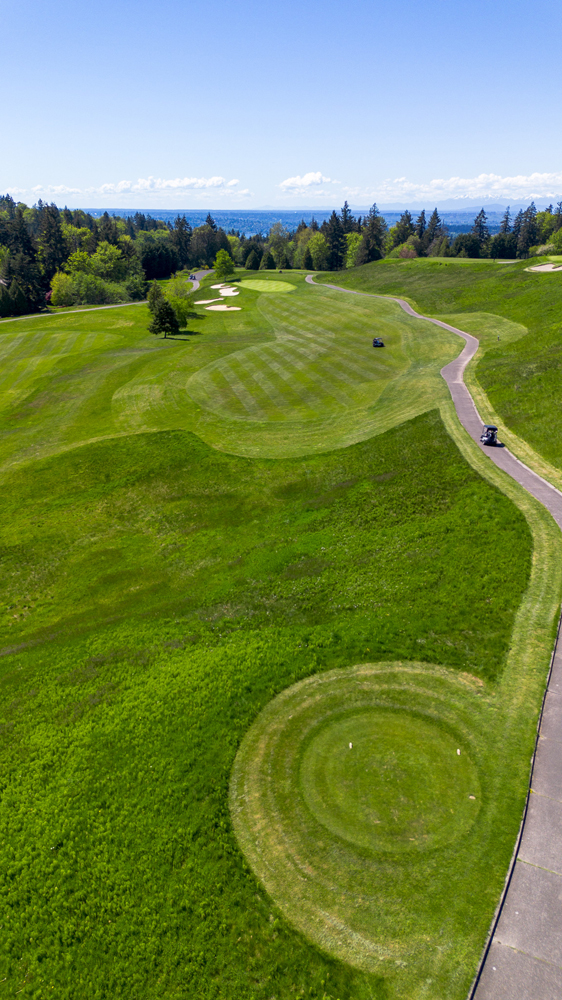
Par 5
589 yards
The first hole on Coal Creek is a true 3-shot Par 5 that requires length and accuracy. With a downhill fairway and hazards all around, you have to be careful laying up to a narrowing fairway.
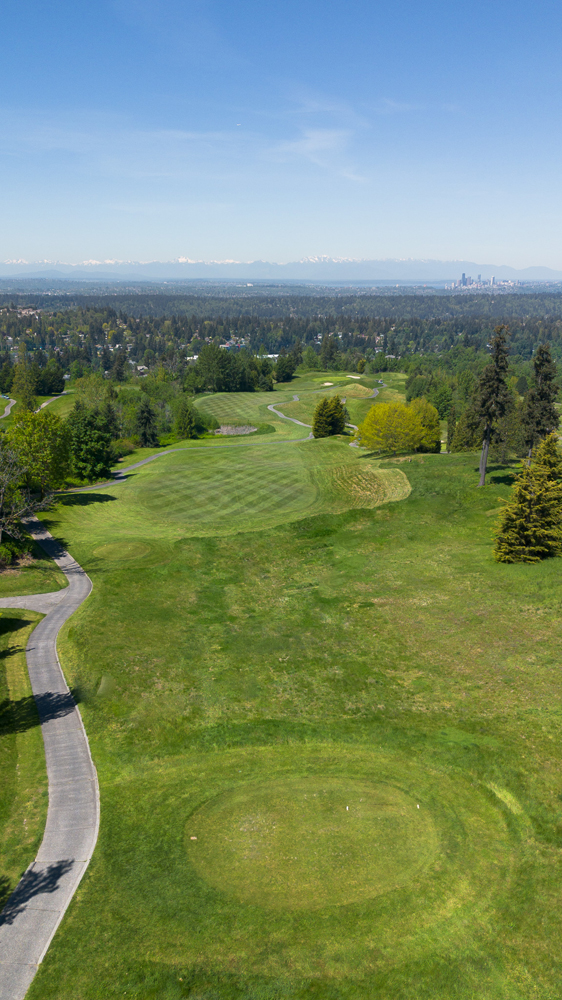

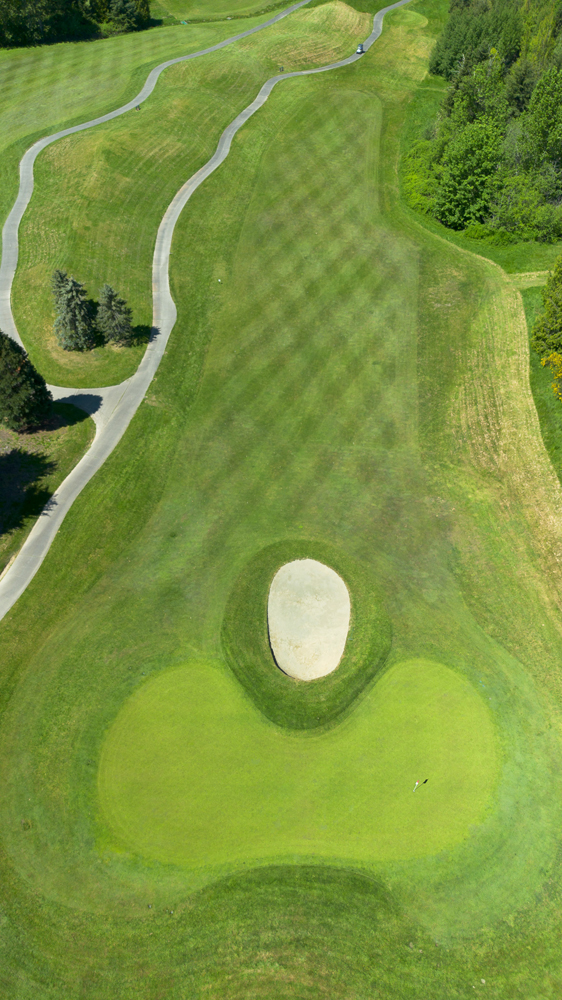
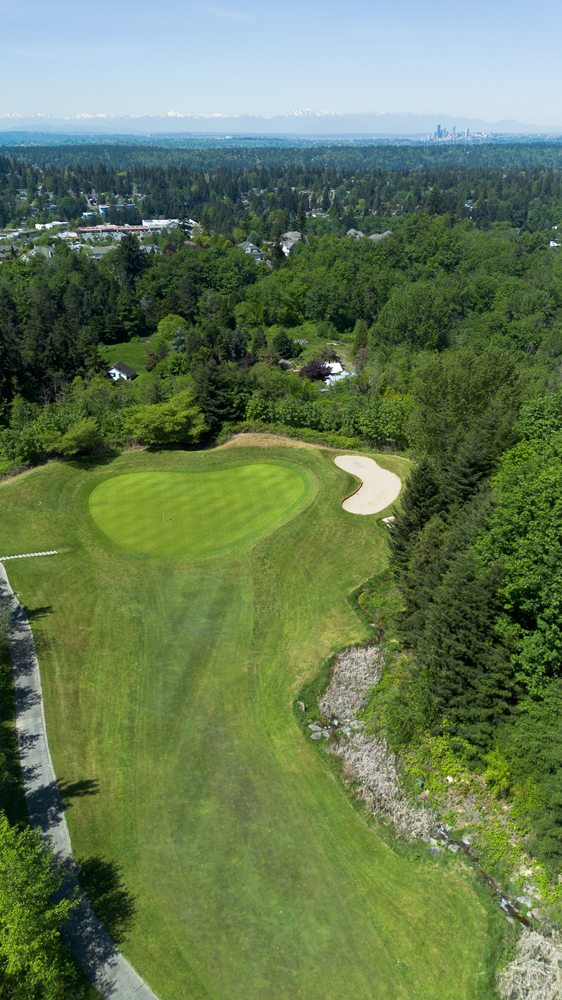
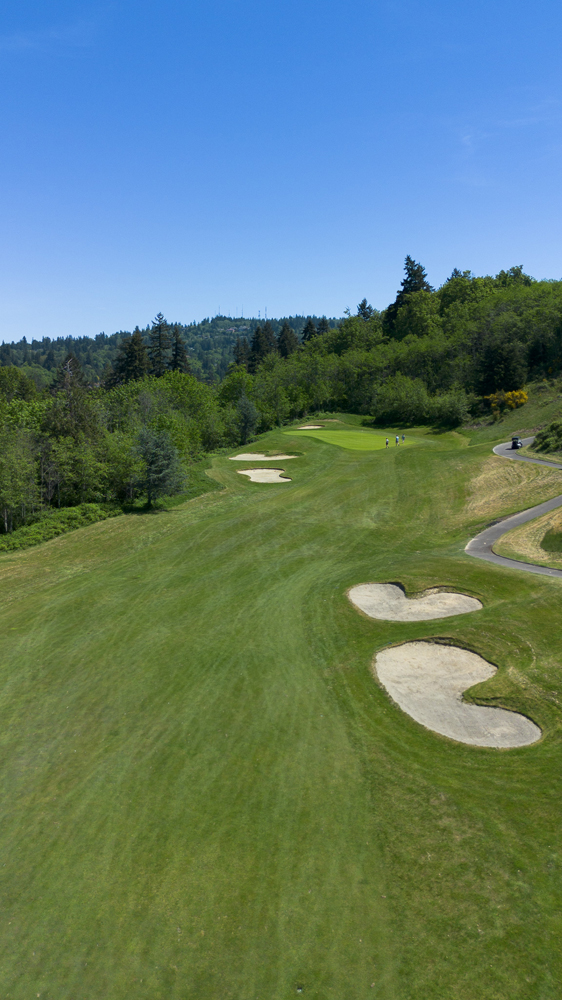
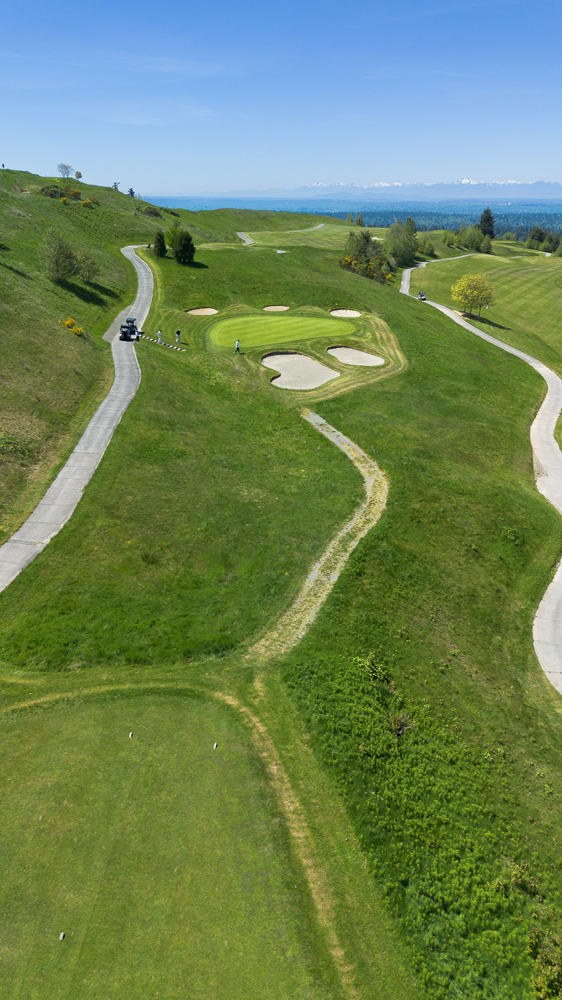
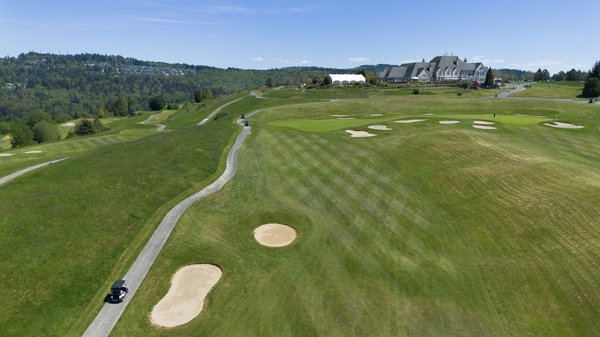
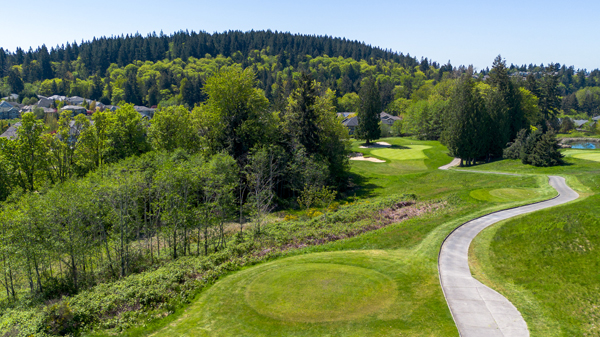
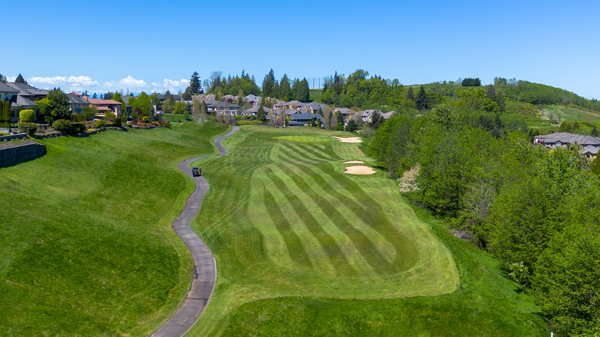
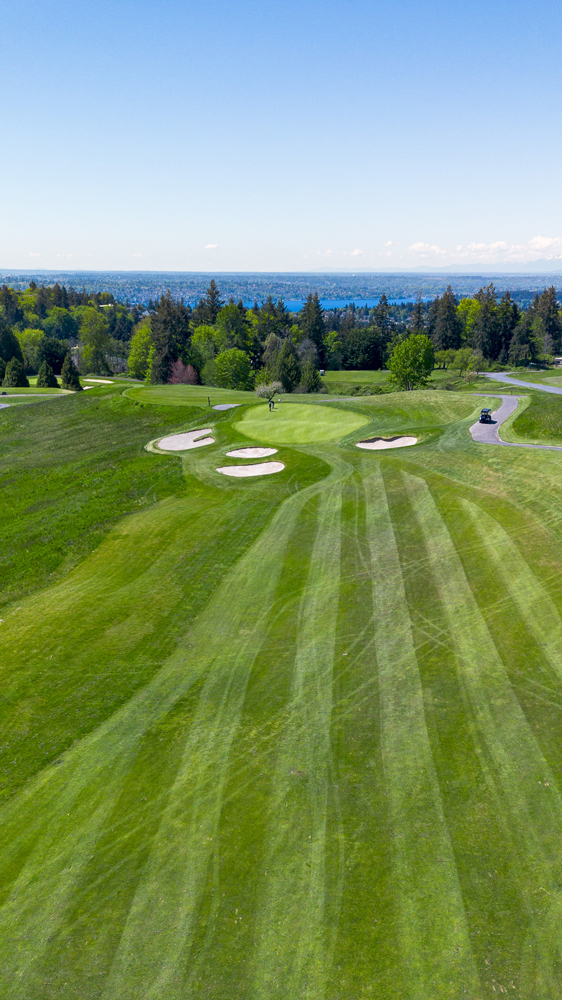
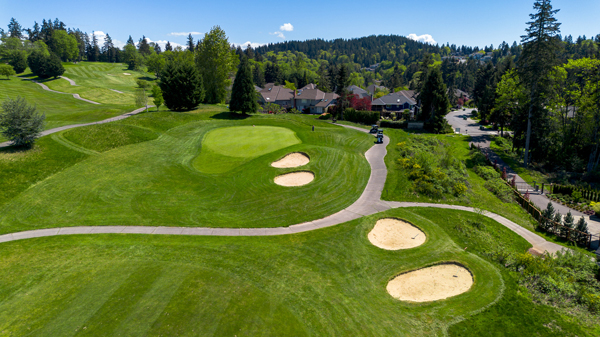
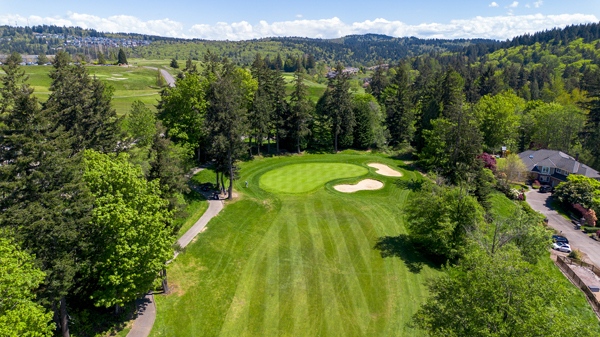
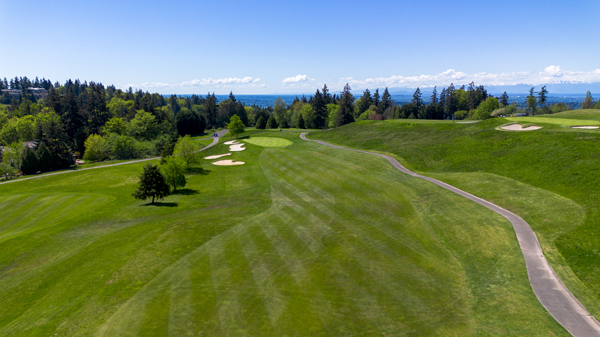
Par 4
305 yards
This is an uphill, short par 4 where length isn’t necessary. A driver and a short iron or wedge typically play on this hole.

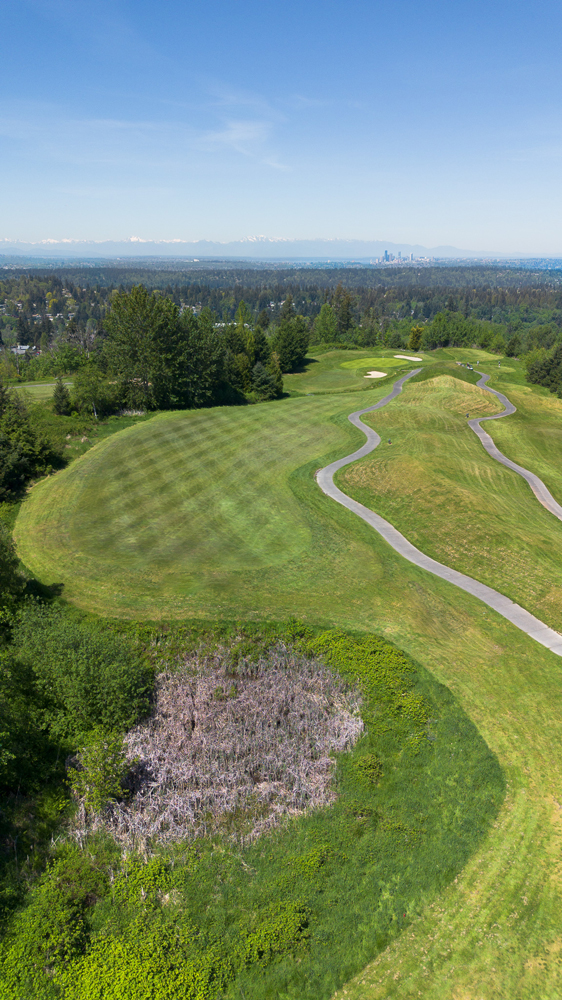
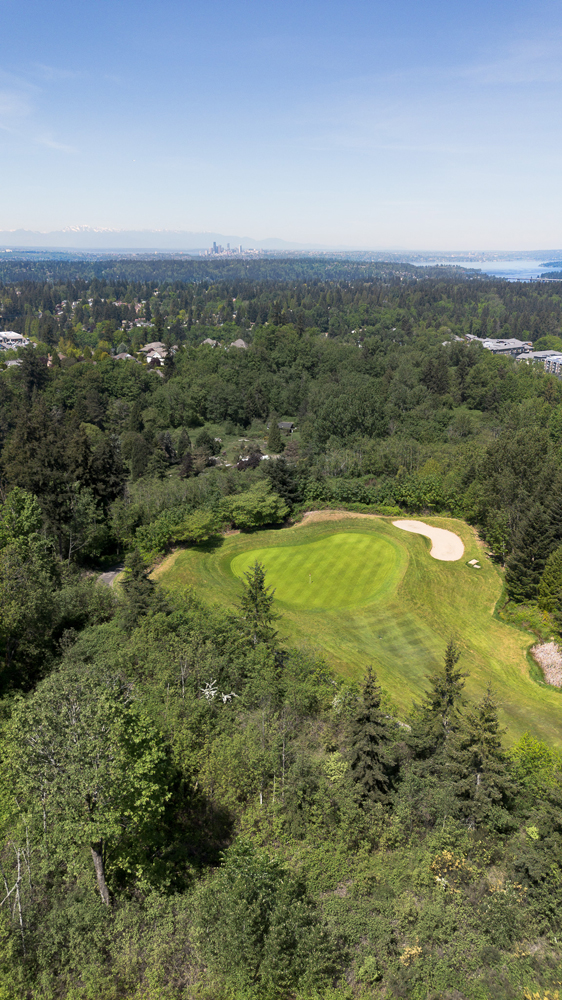
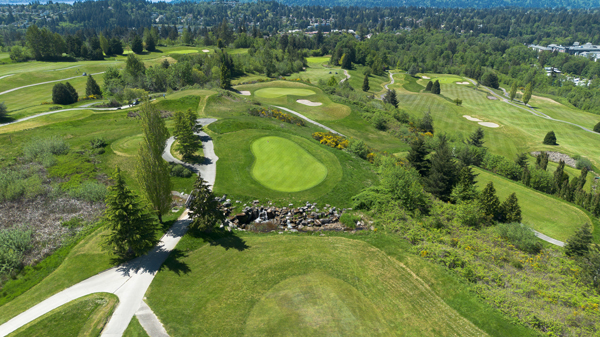
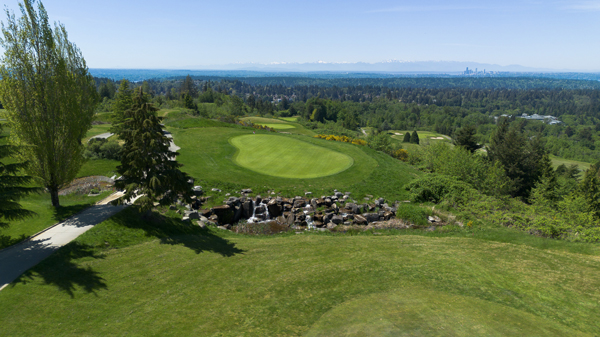
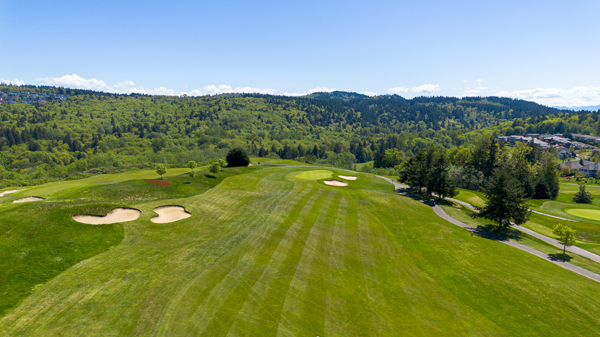
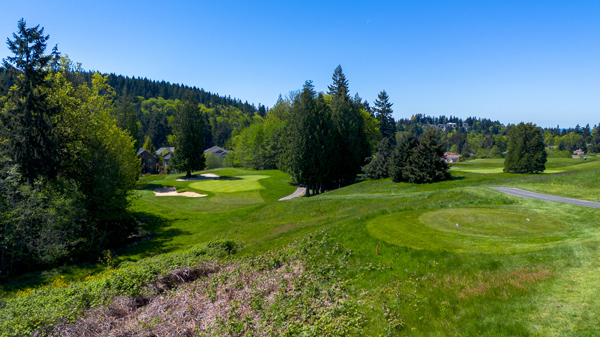
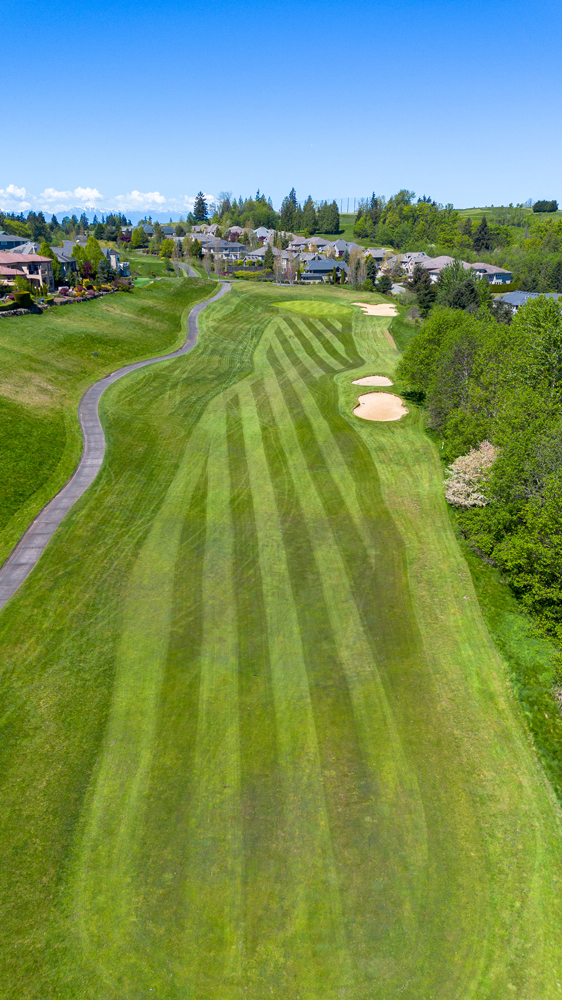
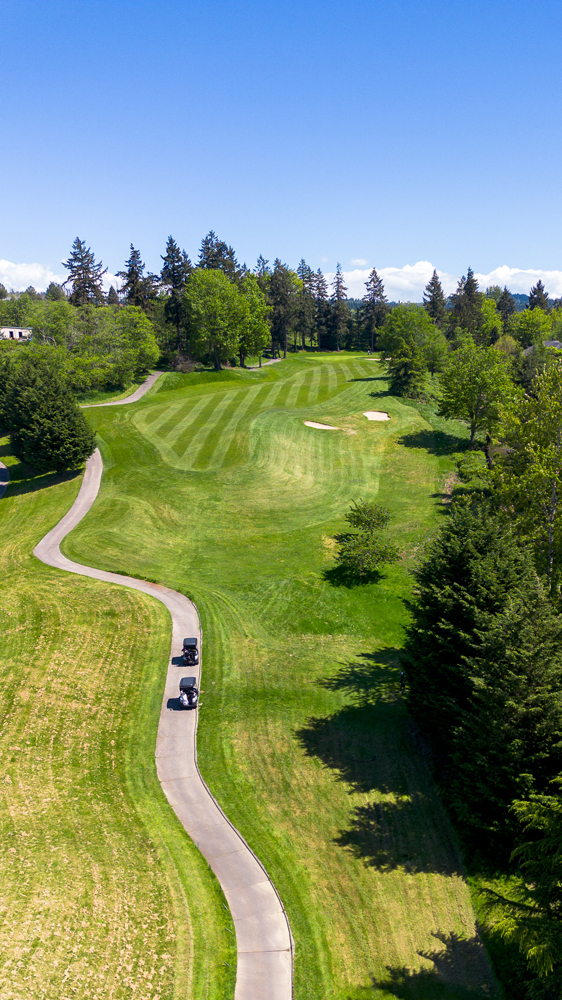
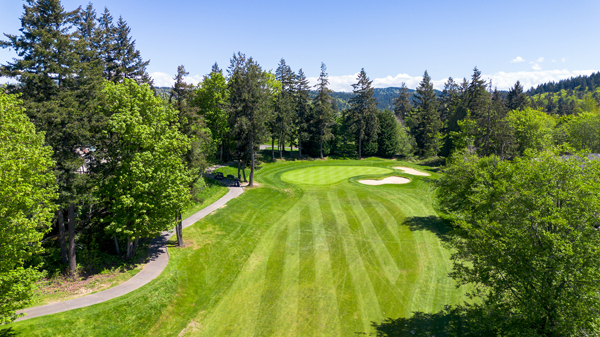
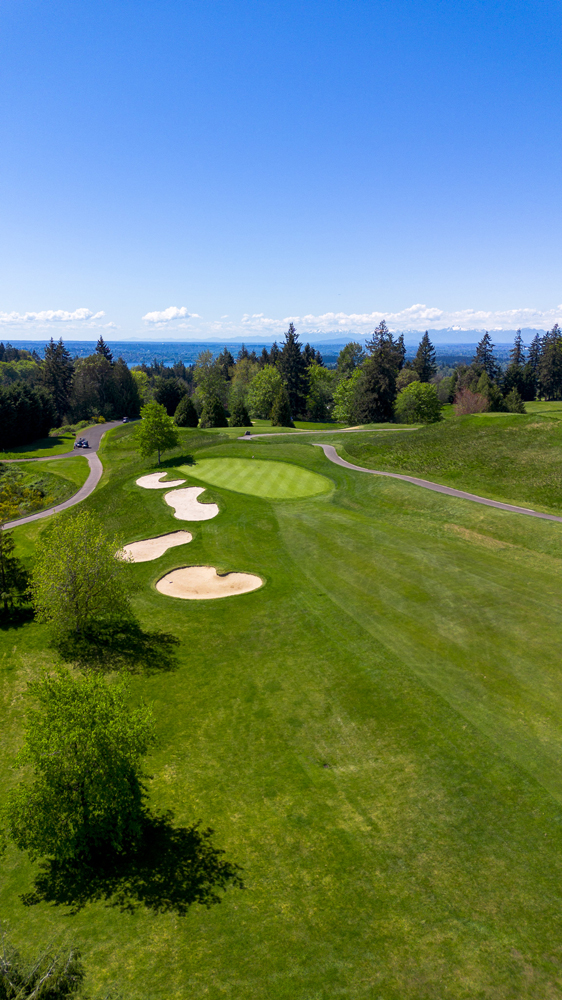
Par 4
414 yards
Hole number 3 once again places a premium on accuracy. The entire left side of the hole features an environmentally sensitive area with a small creek, while the right side slopes severely, which can lead to a difficult second shot.
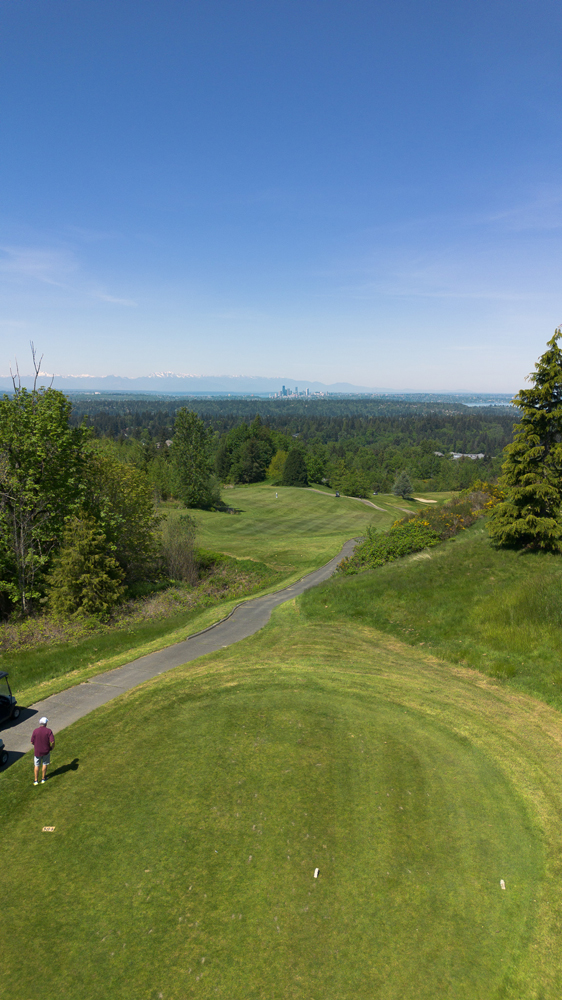

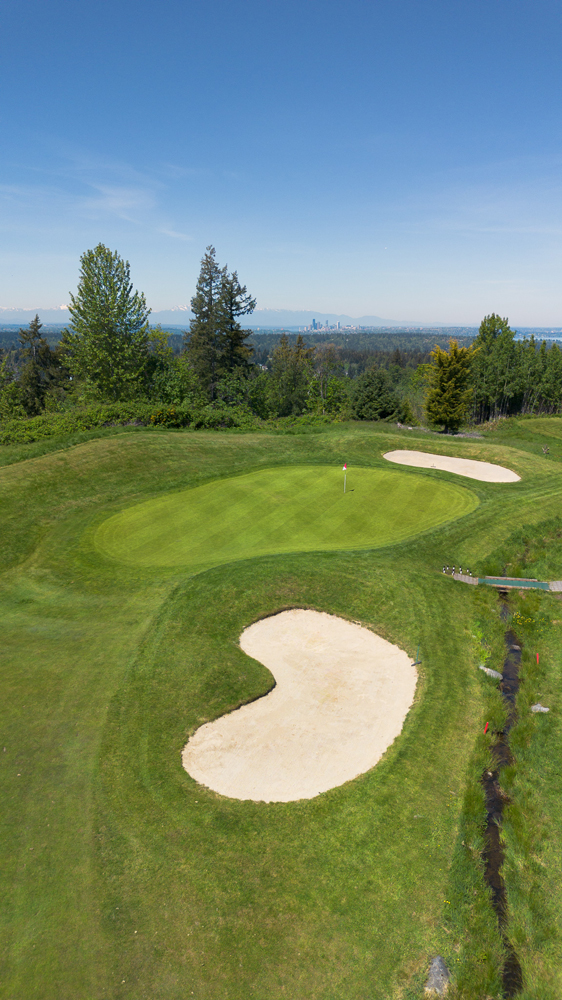
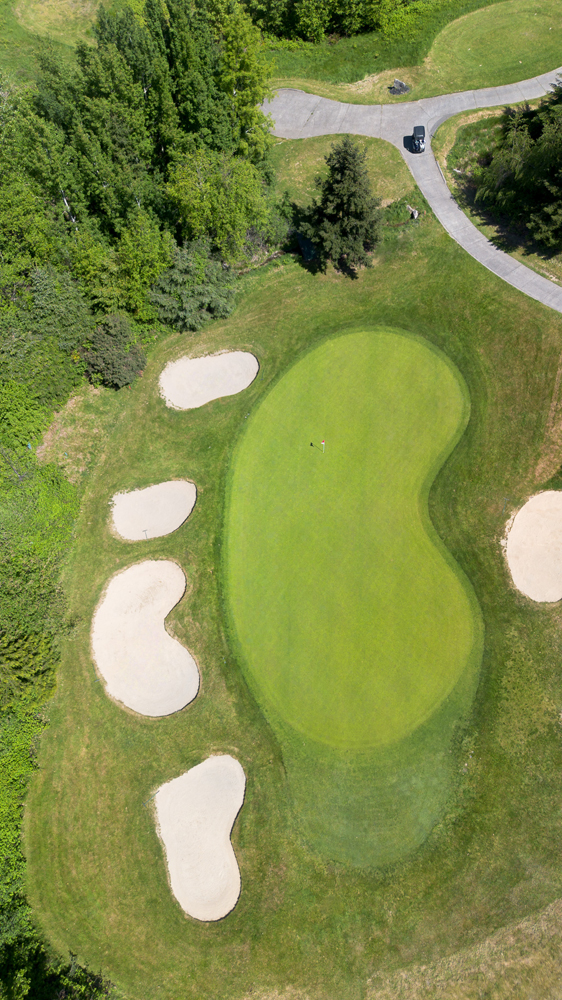
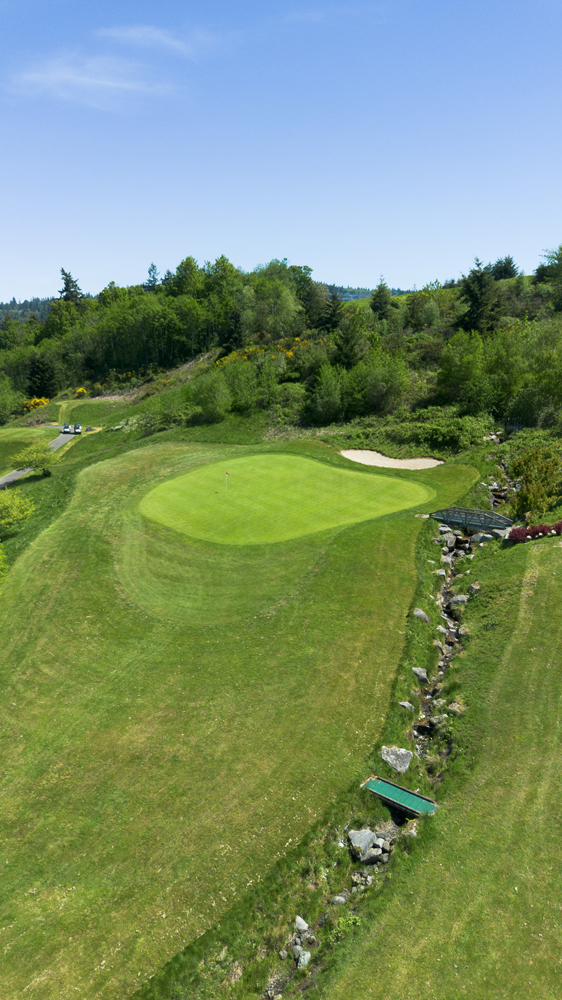
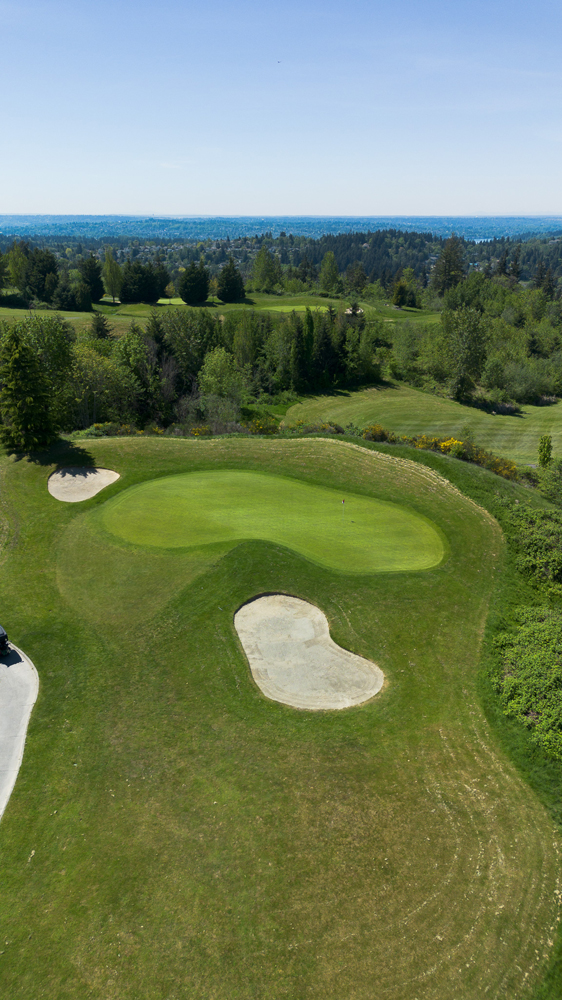
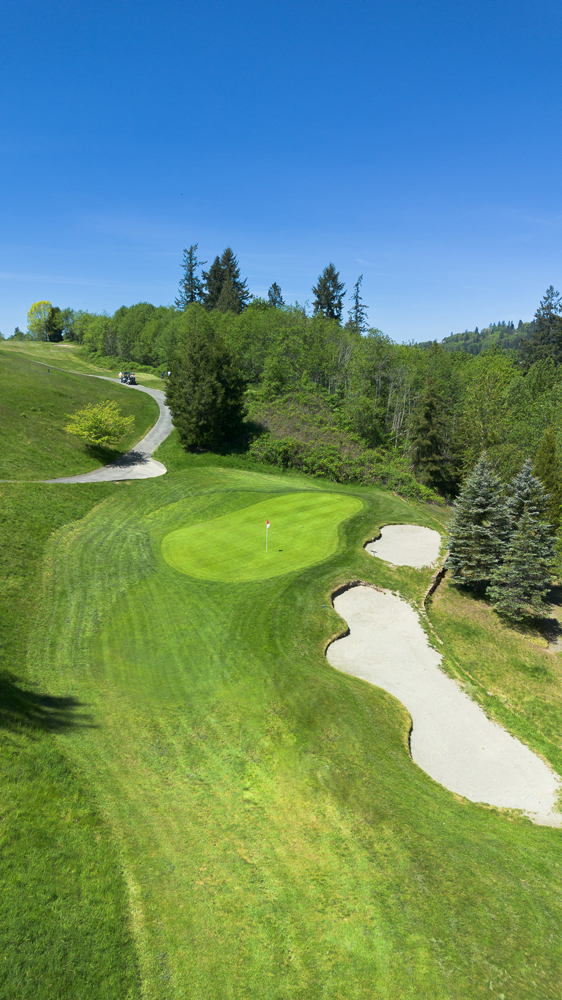
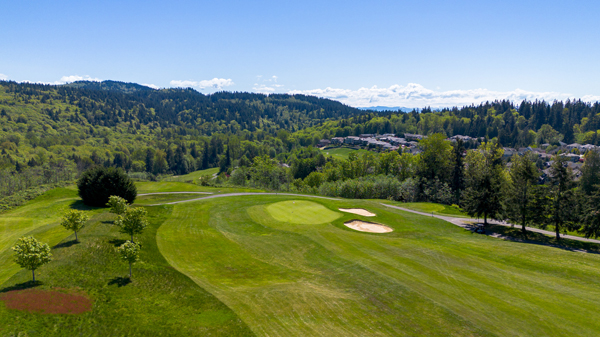
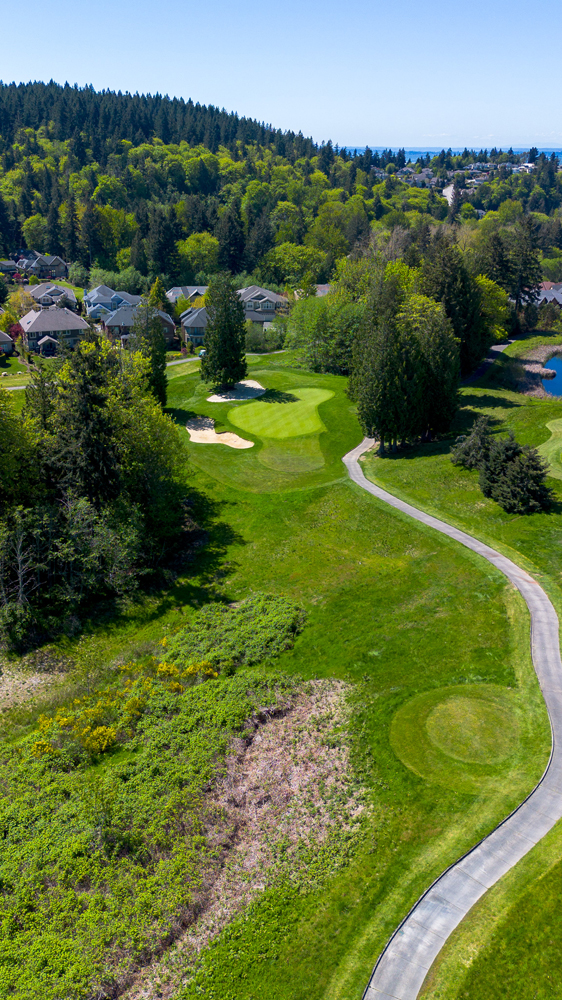
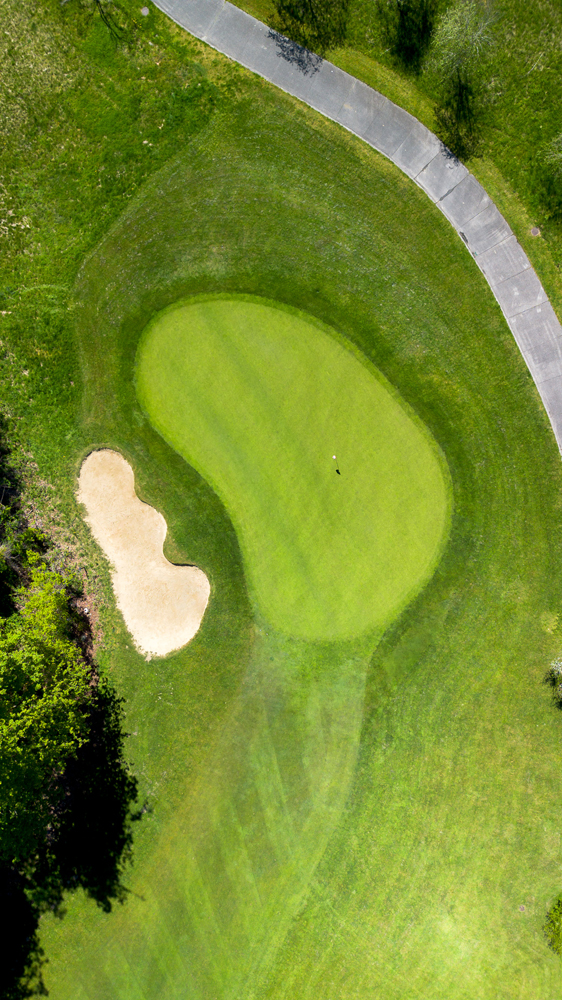
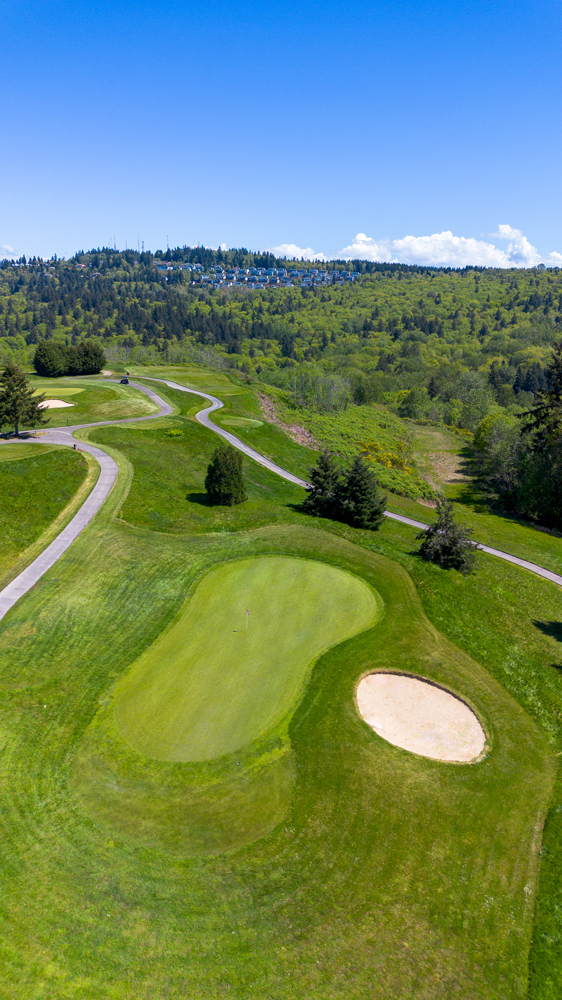
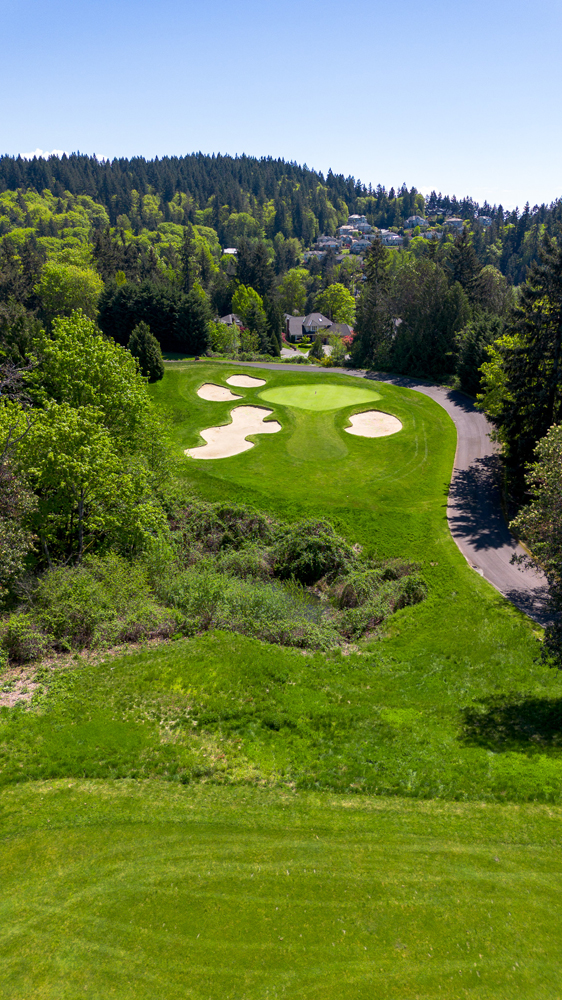
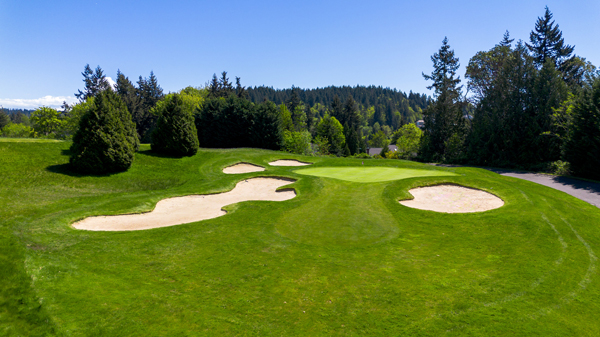
Par 3
137 yards
A short par three where anything left of the green can leave you in trouble. The green, with a prominent ridge running through the middle, features undulating slopes and severe breaks.
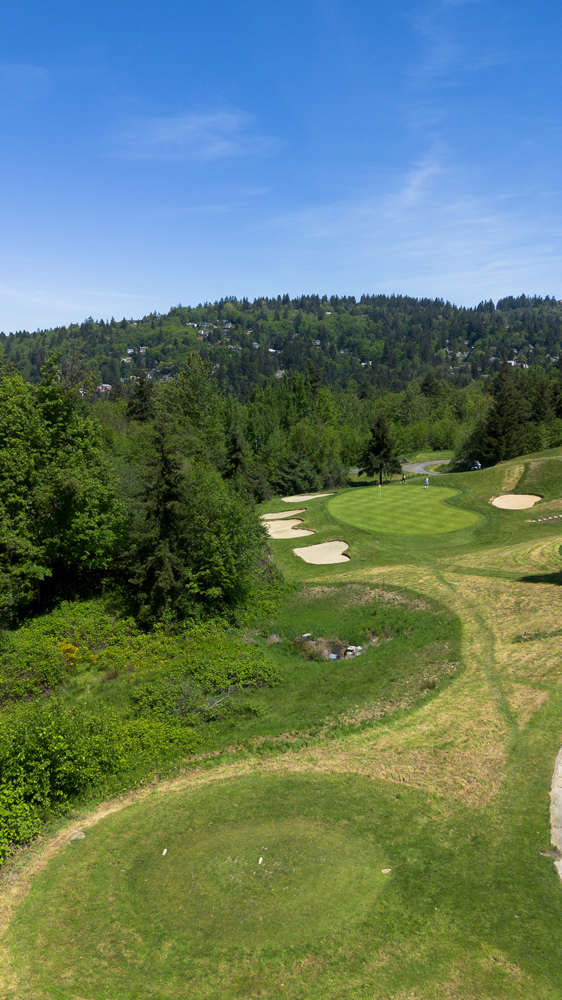

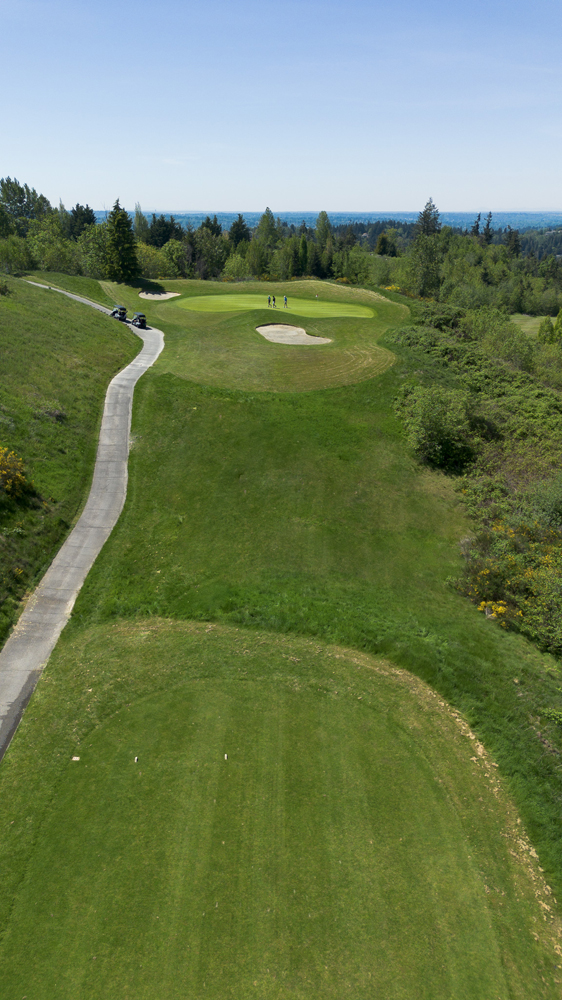
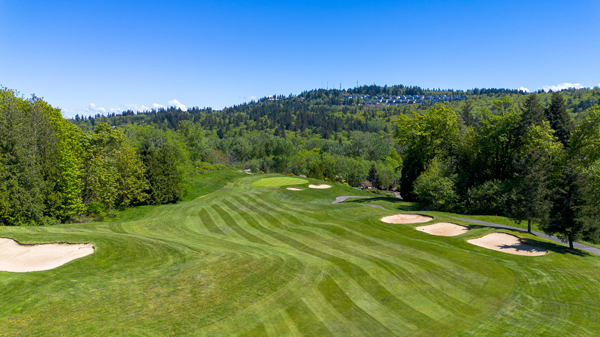
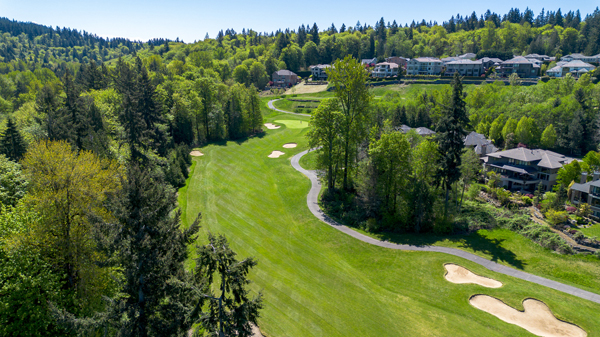
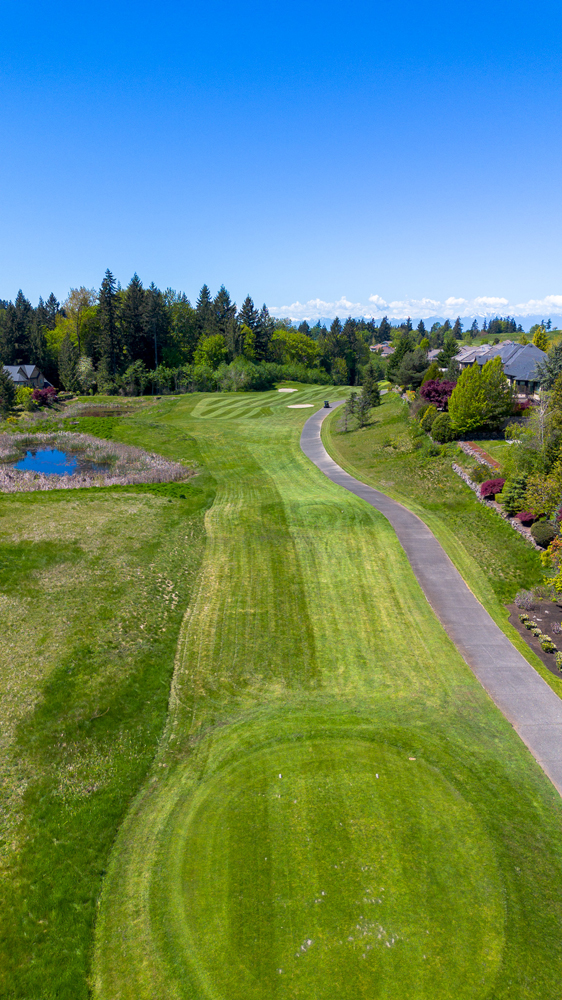
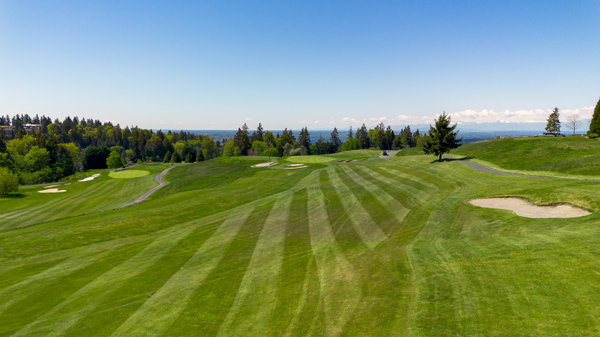
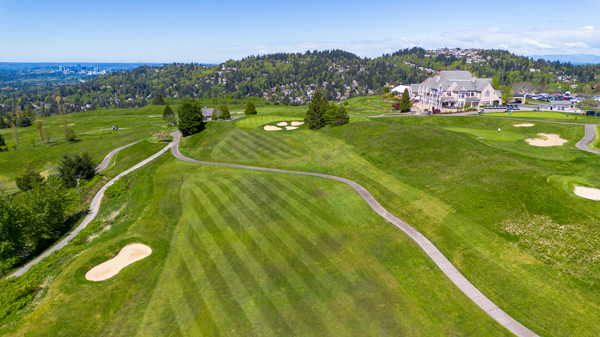
Par 5
514 yards
Another long, three-shot Par 5 with out-of-bounds on the left-hand side and a severe slope to the right side of the cart path can come into play—the hole itself, which plays uphill through the green.

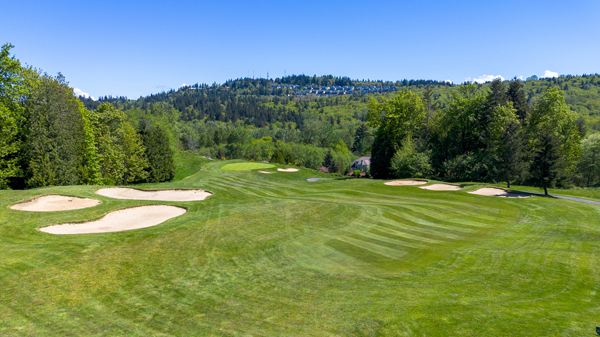
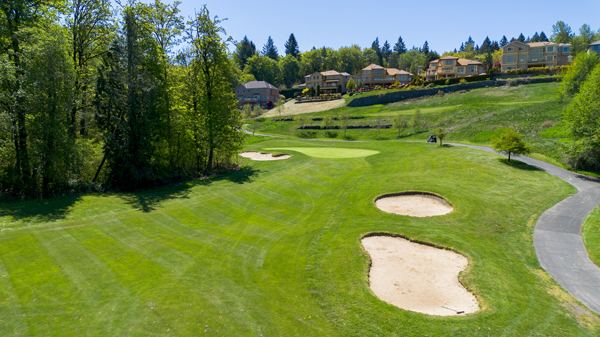
Par 4
438 yards
A long, open par 4 with an undulated fairway. The green can be very inviting, but golfers must be aware of the subtle breaks and the false front.


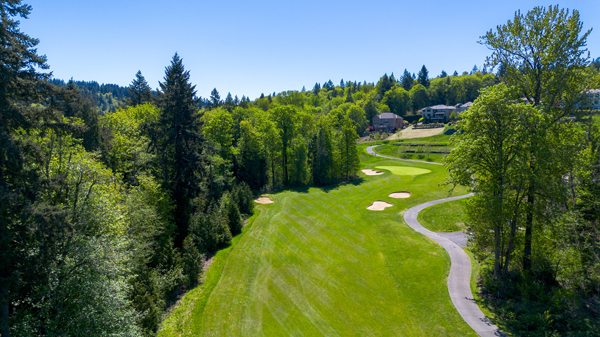
Par 4
389 yards
Number seven is an uphill par 4, with bunkers guarding the left side of the fairway and a severe uphill slope guarding the right. Err on the side of caution and use more club.

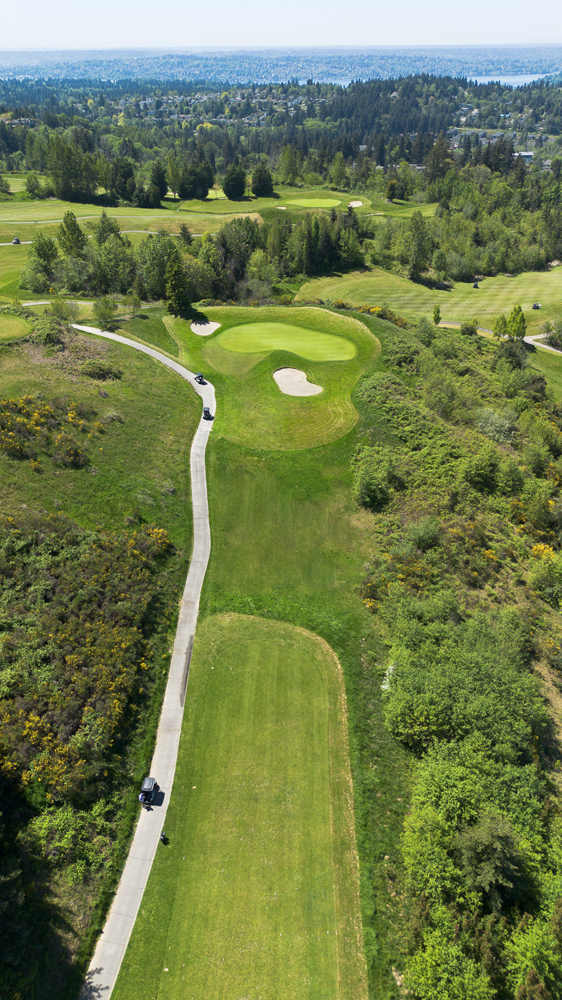
Par 3
146 yards
This uphill par 3 plays slightly longer than the yardage states. A premium is placed on the location of the pin, as some shots on the wrong side of the pin will lead to tricky putts.

Par 4
403 yards
The outward 9 finishes with this long, challenging par 4. The green connects to the 18th green and is very large and relatively flat. However, it is guarded by bunkers on both sides and a small false front, which can send shots rolling back into the fairway.


Par 3
204 yards
A downhill par 3 with a large receptive green that slopes from front to back. The club of choice will range from a mid to short iron, depending on the hole location and the weather conditions.


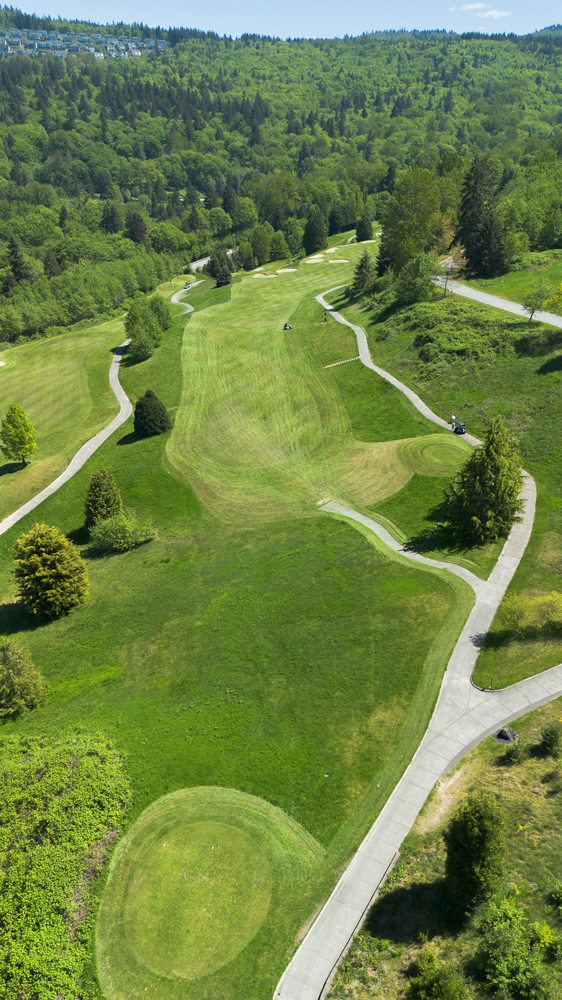
Par 5
522 yards
This is a true risk-reward par 5 where a good tee shot sets you up for a chance to make the green in two or where a bad one will have you scrambling for a bogey. With a severe downward slope to the left and a grassy hill to the right, a premium is placed on finding the downhill fairway with the driver.

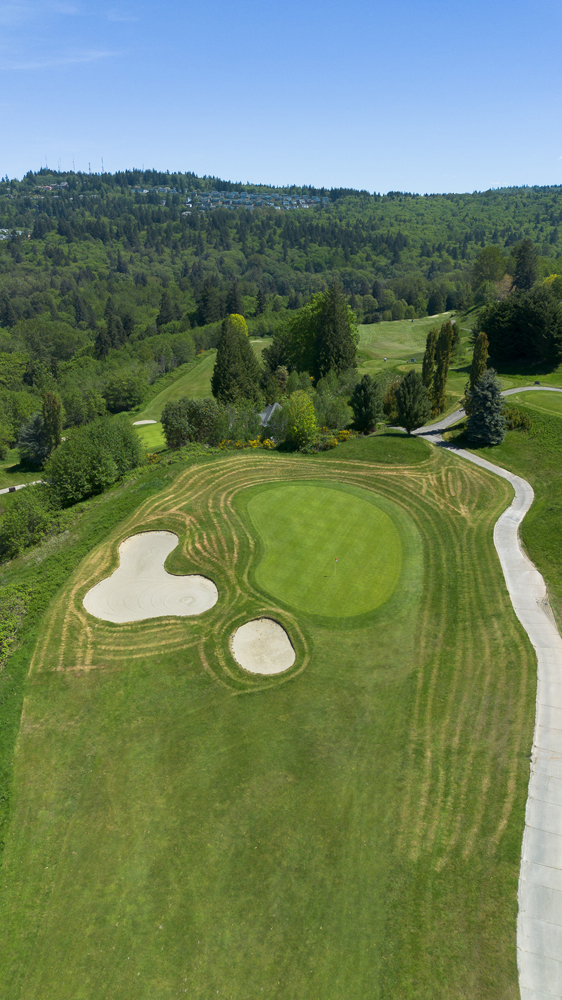
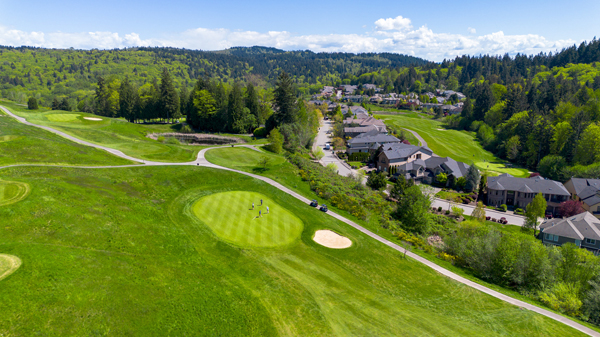
Par 3
166 yards
This par 3 requires both careful club selection and aim, with a green that is very narrow and has trouble on both sides.


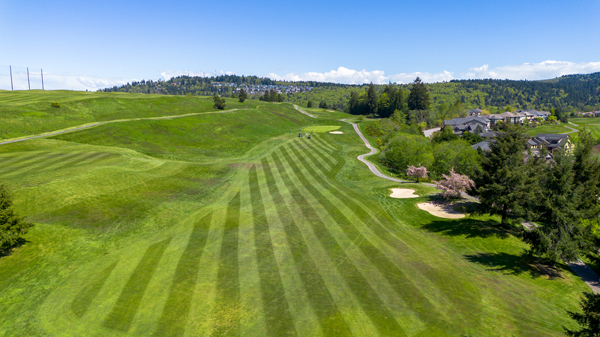
Par 4
399 yards
The 13th hole requires a blind tee shot, usually with a driver. A solid drive will leave a mid- to short-iron approach to an uphill green with trouble on both sides. The green itself has three tiers sloping from front to back.

Par 5
541 yards
This long par 5 requires three well-placed shots to give yourself a chance at birdie. The fairway is very generous and allows for a slight miss. However, be wary of the out-of-bounds running the entire right side length.

Par 4
423 yards
The play is to avoid the left side, which is guarded by bunkers and a severe downhill slope. The green is relatively flat, with a bunker guarding the front right side.

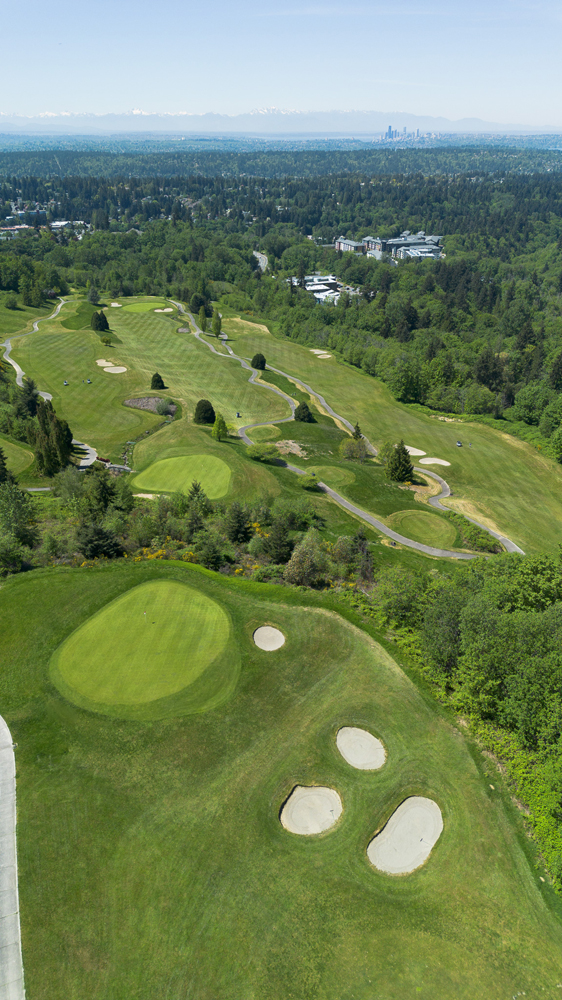
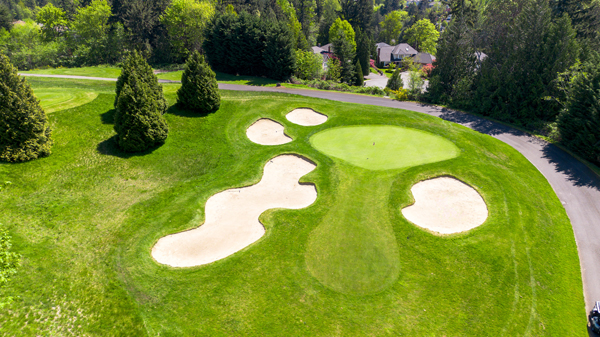
Par 3
112 yards
Most golfers use a short iron or wedge for the tee shot; hitting this green in regulation is key. With bunkers surrounding this small green, including one on the front right and one on the back left positioned on the down slope, accuracy is the key to making par or better.

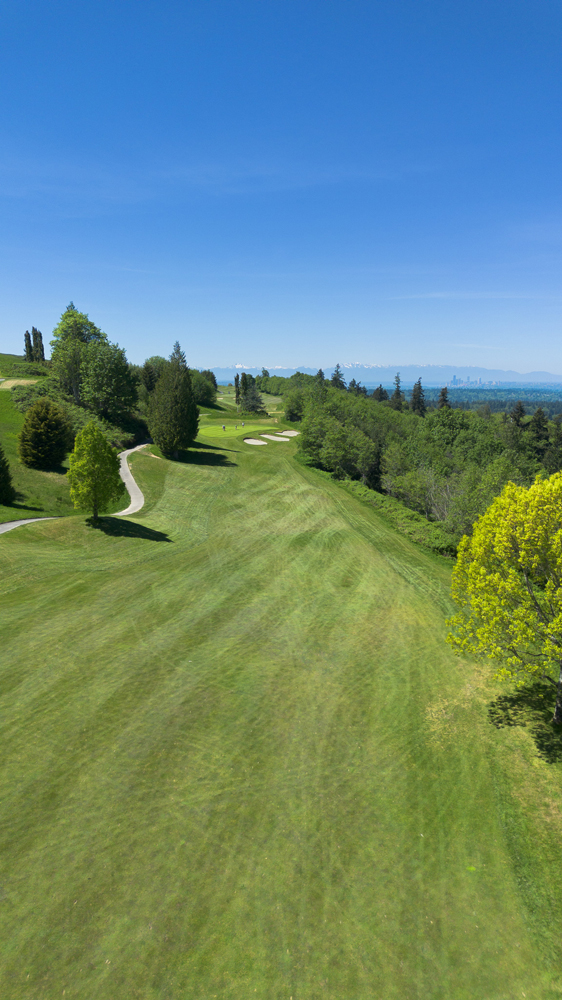
Par 5
475 yards
The signature hole here at Newcastle. This par 5 can be reachable in 2 shots for those bold enough to attack this green. With a blind tee shot, the golfer should aim towards downtown Seattle to allow them to make it on in 2.

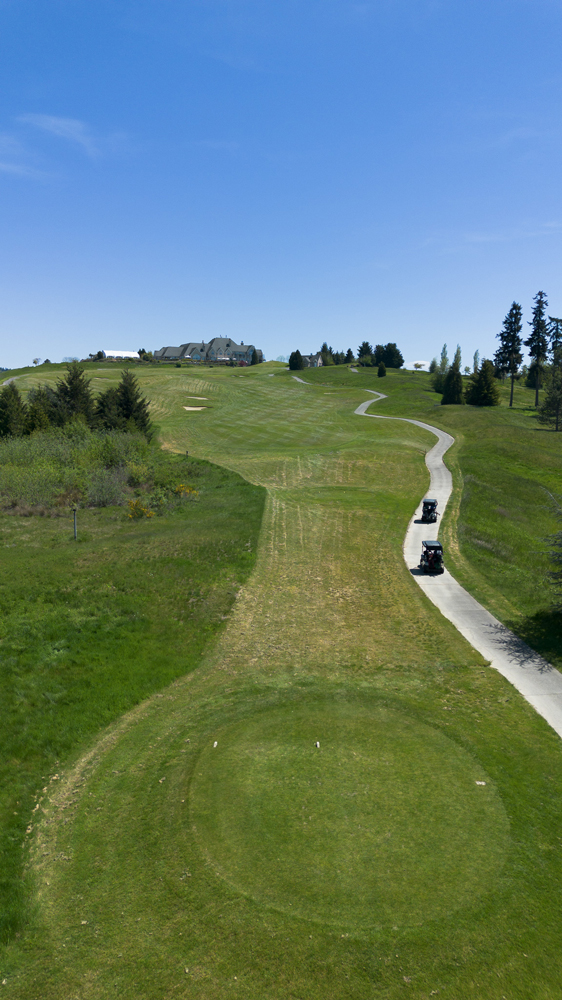
Par 4
357 yards
The final hole plays straight uphill to a wide-open fairway with only two bunkers guarding the left-hand side. The green is mostly large and flat, so knowledge of the pin location is vital.

Similar to the Coal Creek course to the north, China Creek combines mesmerizing views with layouts that provide challenge and variety for golfers of all abilities. The site’s gently rolling terrain throughout the 6,632-yard course encompasses five par 3’s, nine par 4’s, and four par 5’s with many natural preserved areas to add to the drama and excitement. Golfers will encounter undulations on several fairways and can anticipate well-placed bunkers throughout the course.
Par 5
535 yards
The starting hole for China Creek offers a comprehensive, inviting fairway with room on either side. Three well-executed shots will leave you with a chance for birdie. This hole allows you to start your round with a par or better.

Par 3
200 yards
This is a longer Par 3 that plays downhill to a narrow green guarded by trees and long grass on both sides.

Par 4
322 yards
This slight dog-leg left short, downhill par 4 is drivable for the accurate and aggressive player. Watch out for the bunkers in the front right of the green on your approach!


Par 5
480 yards
A dog-leg right uphill par 5 will be a three-shot hole for most. A well-placed approach shot can leave the player with a good look at birdie or a testy chance for a par.

Par 4
341 yards
A shorter par 4 that plays very straight. Avoid the bunker that guards the right-hand side of the green, and you should have a good chance for par or better.


Par 4
377 yards
With a hazard guarding the entire left-hand side and out-of-bounds guarding the right, players must be accurate with their tee shots on this Par 4 that doglegs slightly right.

Par 3
148 yards
This par three will play slightly longer than stated as the green plays uphill. The green is relatively flat, rewarding well-placed shots with a chance at par or better.

Par 5
569 yards
This par 5 is a true three-shot hole that requires length and accuracy to give the player a chance at birdie. Confirm your yardage before approaching to avoid a potentially nasty putt that will torment even the best of putters. Bunkers guard this smallish and tricky green on both sides.


Par 3
144 yards
The final hole of the outward 9 plays extremely uphill to a forgiving green with plenty of tricks to make par a little more complicated. The green is relatively flat and guarded by bunkers on both sides.

Par 5
463 yards
The hole plays downhill and is shaped slightly from left to right. The green has subtle undulations, and an excellent second or third shot will give the golfer a chance at par or better.


Par 3
169 yards
This par 3 calls for a long carry-over water to an “L” shaped green that is long and shallow. Try to avoid the pond, the false front on the left-hand side, and the bunkers that guard the green’s front and back.


Par 4
368 yards
A short and narrow par 4 that bends from left to right requires a well-placed tee shot. The green is large and guarded by the slope and bunkers on the front left-hand side.


Par 4
328 yards
Select any club you feel comfortable with on this short par 4. The green is uphill and features two tiers. Make sure you have the right club to compensate for the elevation of the green.

Par 4
334 yards
One of Newcastle’s most demanding tee shots is featured on this par 4. An uphill drive to a fairway that slopes from left to right leaves most players with an awkward second shot to the green.

Par 3
143 yards
Bunkers on both sides guard a downhill Par 3 to an undulated green, and it is out of bounds to the right and behind the green. The green can be played aggressively. However, errant tee shots will be penalized.

Par 4
431 yards
This Par 4 plays longer than most, especially with a tricky three-tiered green that slopes severely down and away to the right-hand side.

Par 4
383 yards
The second-to-last hole on the inward 9 allows the golfer to play anything from a driver to a hybrid off the tee to a wide and forgiving fairway. The green features a bunker to the left, which keeps players from being too aggressive to a back-left pin placement.

Par 4
367 yards
This challenging par 4 is a fun way to end the round. The hole itself plays significantly uphill to the green. Golfers should be advised to use one to two more clubs than usual when going for the green.

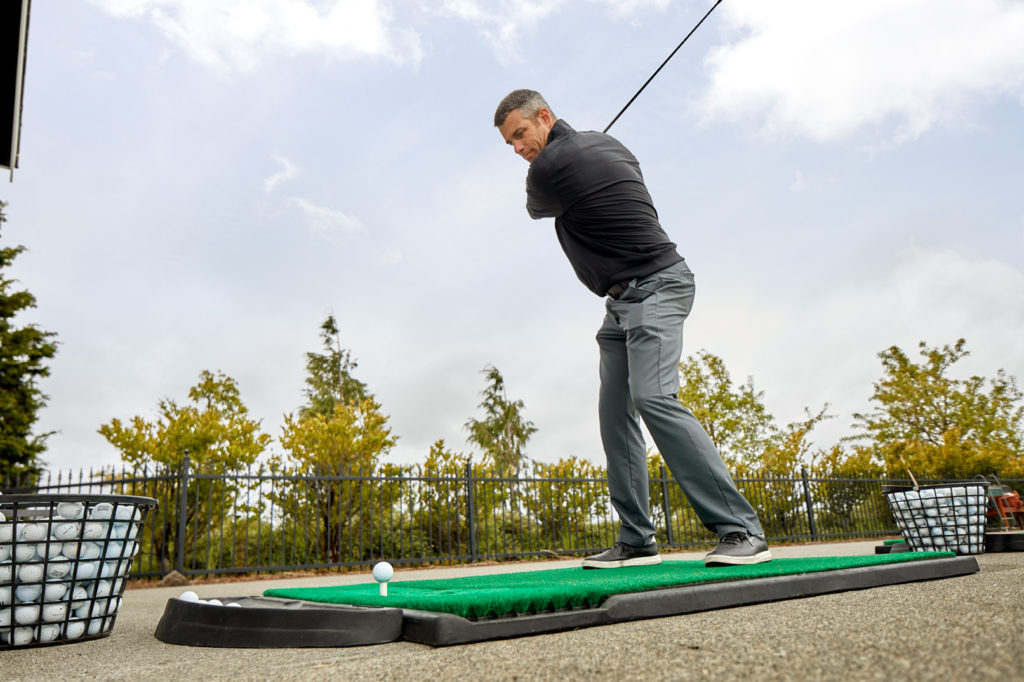
Practice Facilities
Take your game to the next level.
The state-of-the-art practice facility encompasses a practice range, teaching center, and equipment shop. The practice range provides both grass tees and mats, 30 of which are covered and heated for practice in any season. All range pins and targets are laser-measured to ensure accurate distances.
For golf purists, our East Tee features an unmatched area for full swing and short game practice. The all-grass tee is rotated daily to ensure fairway-like conditions and offers the panoramic view we are known for. The short game area features four chipping and putting greens, 3 bunkers, numerous grass bunkers and mounding, and the opportunity to hit up to 100-yard wedge shots to perfect all areas of your short game.
The East Tee is also available to rent for private events. For more information, please call the Golf Shop at (425) 793-4653. (The East Tee is only open seasonally)

Practice Facility Hours
| Mat Stations | East Tee | |
| Monday-Tuesday | 6:00am–9:00pm | 8:00am-6:00pm |
| Wednesday | 6:00am-5:00pm | 8:00am-6:00pm |
| Thursday | 7:30am-9:00pm | 8:00am-6:00pm |
| Friday-Sunday | 5:30am-9:00pm | 8:00am-6:00pm |
The last bucket is sold 1 hour prior to close.
Practice Facility Rates
| Small Bucket | $12 |
| Large Bucket | $21 |
| Junior Large Bucket | $14 |
Practice Plans
| 20 Bucket Plan | $360 |
| 50 Bucket Plan | $850 |
| 100 Bucket Plan | $1,600 |